CCXProcess.exe is a process of Adobe Creative Cloud, that you can spectate in your Task Manager. It commonly appears in the Startup after the installation of the Adobe software package. By design, it is harmless and even useful, though this name can be used by malicious programs.
CCXProcess
🤔 Adobe Creative Cloud is a collection of applications and services used by creative professionals for tasks such as graphic design, video editing, photography, web development, and more. The CCXProcess is one of the background processes that run when you have Adobe Creative Cloud applications installed on your computer.
Adobe Creative Cloud is a suite of software applications and services developed by Adobe Inc. for creative professionals and enthusiasts. CCXProcess.exe is a background process that runs as part of the Adobe Creative Cloud application and is responsible for various tasks related to product activation, license validation, and software updates.
When you install and run Adobe Creative Cloud on your computer, CCXProcess.exe will be running in the background to ensure the proper functioning of the Creative Cloud applications and to handle licensing and authentication processes.
Like other legitimate processes, CCXProcess.exe is not a threat to your computer and should not be removed or tampered with. However, it is essential to ensure that you have obtained Adobe Creative Cloud from an official and trusted source to avoid potential security risks.
If you encounter any issues related to CCXProcess.exe or Adobe Creative Cloud, you can refer to Adobe’s official support documentation and scan your PC for reputable antivirus software, like Gridinsoft Anti-Malware.
What is the purpose of CCX Process?
Adobe Creative Cloud is an application that provides connection to a unified cloud storage, where users can keep all the projects. CCXProcess.exe process is just its executable file. It should not create any significant load to your system. However, if you spectate such a situation, it is time for you to raise suspicion.
CCXProcess is installed alongside Adobe software on your computer. Its purpose is to provide a centralized workspace for all projects created using Adobe programs. The process usually appears in the task manager when Windows starts up, regardless of whether you are actively using or planning to use applications like Photoshop or Lightroom.

To execute its functions efficiently, the CCXProcess.exe relies on various cscript.exe and conhost.exe processes. At times, you may observe the presence of multiple instances of ccxprocess.exe. This can occur when there is a conflict between the process and an antivirus program you have installed. The main reason why users mistakenly associate it with a virus is its resource consumption. When running multiple Adobe programs simultaneously, it strives to synchronize their activities, which can strain less powerful computers.
| Name | CCXProcess.exe |
| Type | Portable Executable (PE) |
| Compatibility | Windows 7, Windows 8, Windows 10, Windows 11 |
| Related processes | cscript.exe, conhost.exe |
| Related software | Adobe Creative Cloud (including Premiere Pro, After Effects, Lightroom Classic CC, Muse, Flash Builder, Systems, Lightroom Classic, Adobe Extension Manager CC). |
| Associated malware | This process can be malicious, as the name is used by cryptocurrency miners and Trojans. |
| Location path | C:\Program Files (x86)\Adobe\Adobe Creative Cloud Experience |
| Damage | Legitimate process might slow the computer down. Malicious variant can use your PC’s resources to mine cryptocurrency or steal your data |
| Removal | Remove malicious virus using anti-malware software and repair virus damage using Gridinsoft Anti-malware. If dealing with legitimate process, disable CCXProcess.exe using instructions given below. |
Does CCXProcess need to run at startup?
It is recommended to allow this process to launch together with Windows if you use Adobe programs every day. It consumes quite a small amount of PC resources and has a low impact on the system startup speed. But if Photoshop/Lightroom/Premiere/etc. is not one of your working tools, and you need it only to edit photo/video sometimes, you can disable it through the Startup menu in Task Manager.
How to Remove CCXProcess from Startup
CCXProcess.exe is a process of Adobe Creative Cloud.
Note: Disabling CCXProcess.exe from startup may affect the functionality of Adobe Creative Cloud applications, including license validation and updates. If you are not experiencing any issues with Adobe Creative Cloud, it’s generally recommended to leave it enabled.
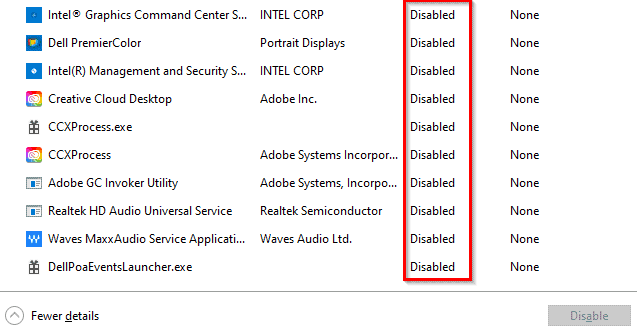
- Open the Task Manager:
- Press “Ctrl + Shift + Esc” to open the Task Manager.
- Alternatively, right-click on the taskbar and select “Task Manager” from the context menu.
- Switch to the “Startup” tab:
- In the Task Manager, click on the “Startup” tab.
- Locate CCXProcess.exe:
- Scroll down the list of startup applications to find “CCXProcess” or “Adobe Creative Cloud.”
- The Status column will indicate whether it is enabled or disabled.
- Disable CCXProcess.exe:
- Select “CCXProcess” or “Adobe Creative Cloud.”
- Click on the “Disable” button at the bottom-right corner of the Task Manager.
- Confirm the action:
- If prompted, click “Disable” again to confirm that you want to disable CCXProcess.exe from startup.
- Restart your computer:
- To apply the changes, you may need to restart your computer.
After disabling CCXProcess.exe from startup, it won’t run automatically when you start your computer. If you ever want to re-enable it, you can follow the same steps but click “Enable” instead of “Disable” in the Task Manager’s Startup tab.
Keep in mind that disabling CCXProcess.exe from startup might prevent Adobe Creative Cloud applications from functioning correctly, such as license validation and software updates. If you encounter any issues with Adobe Creative Cloud after disabling CCXProcess.exe, you can re-enable it to restore normal functionality.
How to disable?
As mentioned earlier, a legitimate version of this process is safe and might appear due to conflict with AVG or another antivirus solution. As such case, you can safely disable CCXProcess.exe using instructions given below:- Press Windows key + R at the same time to launch Run prompt.
- Type regedit and press OK or Enter.
- In User Account Control window, press Yes.
- Now, open Registry folders (keys) in the following order: HKEY_LOCAL_MACHINE/SOFTWARE/Policies/Adobe
- Here, right-click the Adobe name and choose New Key. Give it CCXWelcome name
Is CCXProcess a virus?
If you use Adobe applications, the CCXProcess.exe running in the background is a normal situation. However, if you see that this process consumes a lot of hardware capacities without any Adobe programs running, the suspicion must be raised. In one specific case, CCXProcess.exe can consume a lot of resources without any visible reason – when you use AVG Antivirus. They are conflicting, and it can cause such problems. Using security tools like GridinSoft Anti-Malware will not lead to such problems.
But if you don’t use AVG Antivirus, and see such a situation, it is time to investigate. Check the file location of this process: click it with the right mouse button in task manager, and choose “Open file location” option in the appeared menu. The original process is created with the file with the same name located in the C:\Program Files (x86)\Adobe\Adobe Creative Cloud Experience. If it is located anywhere else, it is likely a virus. I’d recommend you to use GridinSoft Anti-Malware for this case.
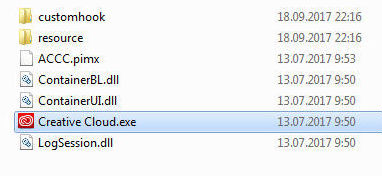
Creative Cloud in its root directory
Remove Trojan Miner with Gridinsoft Anti-Malware
We have also been using this software on our systems ever since, and it has always been successful in detecting viruses. It has blocked the most common Trojans as shown from our tests with the software, and we assure you that it can remove Trojan Miner as well as other malware hiding on your computer.
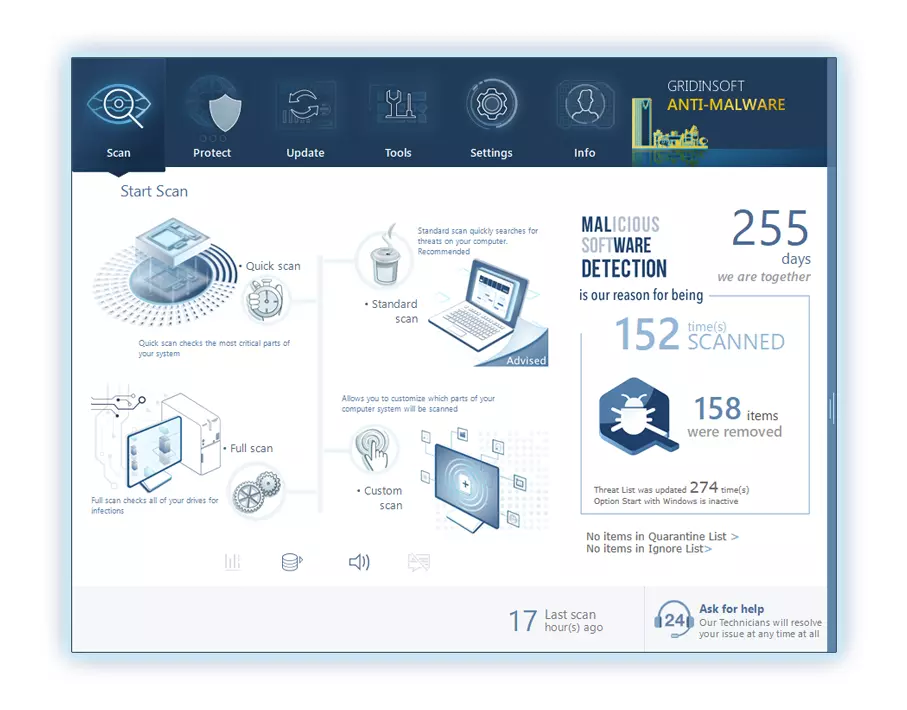
To use Gridinsoft for remove malicious threats, follow the steps below:
1. Begin by downloading Gridinsoft Anti-Malware, accessible via the blue button below or directly from the official website gridinsoft.com.
2.Once the Gridinsoft setup file (setup-gridinsoft-fix.exe) is downloaded, execute it by clicking on the file.
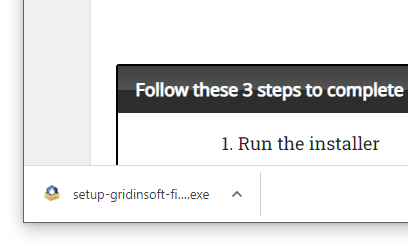
3.Follow the installation setup wizard's instructions diligently.

4. Access the "Scan Tab" on the application's start screen and launch a comprehensive "Full Scan" to examine your entire computer. This inclusive scan encompasses the memory, startup items, the registry, services, drivers, and all files, ensuring that it detects malware hidden in all possible locations.
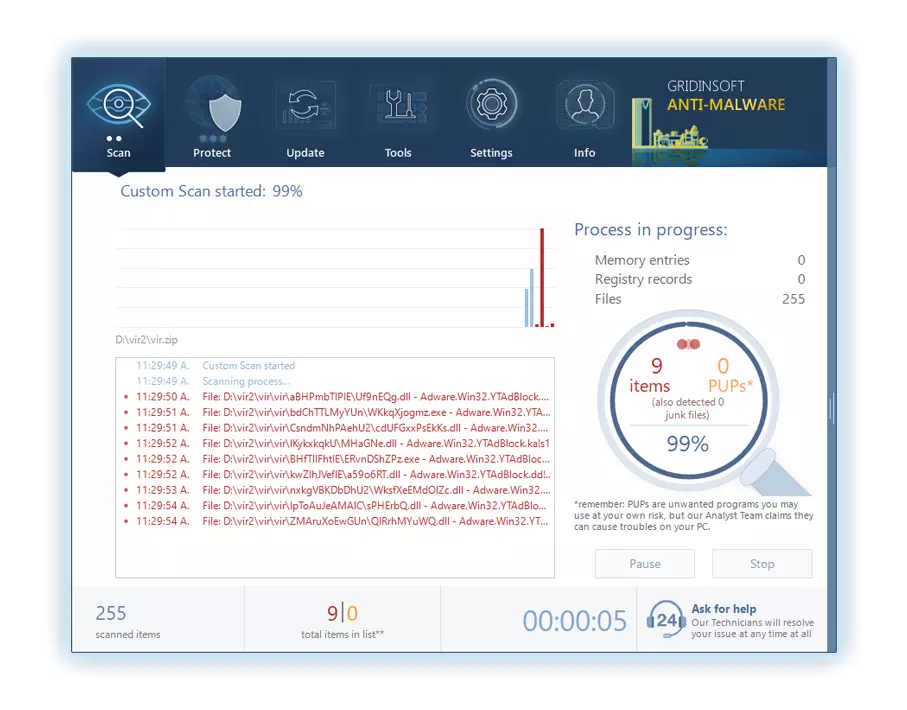
Be patient, as the scan duration depends on the number of files and your computer's hardware capabilities. Use this time to relax or attend to other tasks.
5. Upon completion, Anti-Malware will present a detailed report containing all the detected malicious items and threats on your PC.
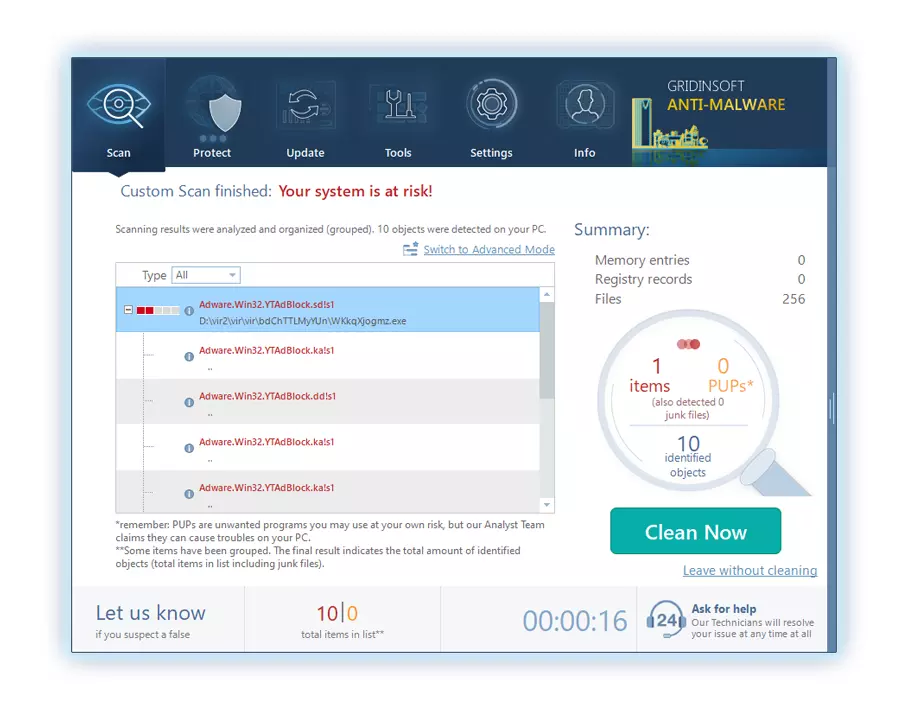
6. Select all the identified items from the report and confidently click the "Clean Now" button. This action will safely remove the malicious files from your computer, transferring them to the secure quarantine zone of the anti-malware program to prevent any further harmful actions.
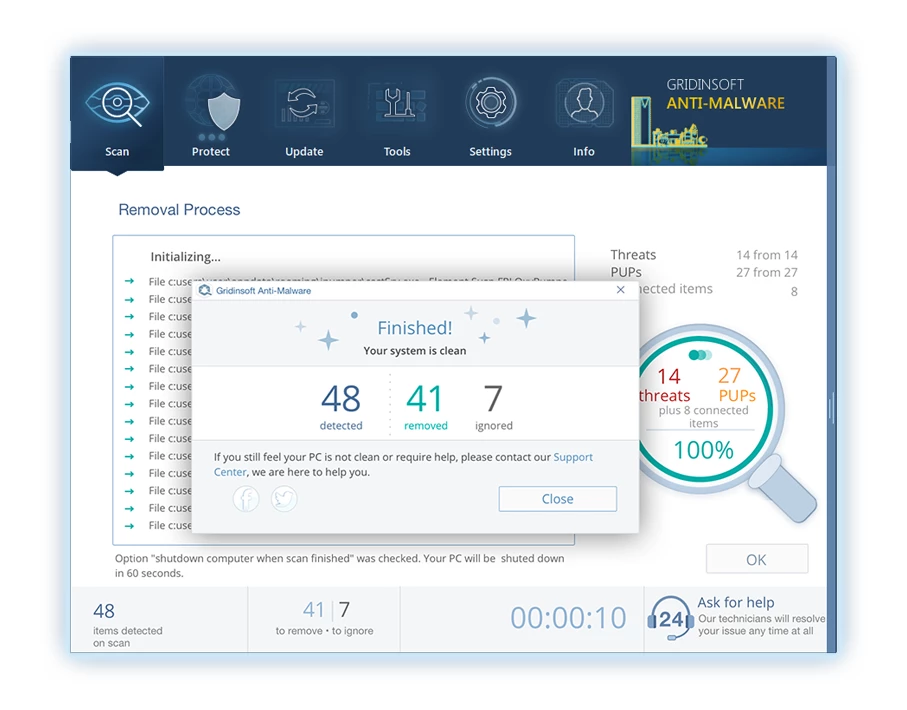
8. If prompted, restart your computer to finalize the full system scan procedure. This step is crucial to ensure thorough removal of any remaining threats. After the restart, Gridinsoft Anti-Malware will open and display a message confirming the completion of the scan.
Remember Gridinsoft offers a 6-day free trial. This means you can take advantage of the trial period at no cost to experience the full benefits of the software and prevent any future malware infections on your system. Embrace this opportunity to fortify your computer's security without any financial commitment.
Trojan Killer for “Trojan Miner” removal on locked PC
In situations where it becomes impossible to download antivirus applications directly onto the infected computer due to malware blocking access to websites, an alternative solution is to utilize the Trojan Killer application.
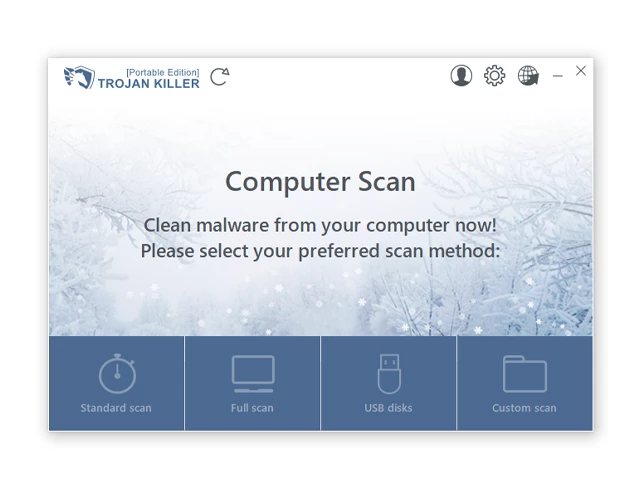
There is a really little number of security tools that are able to be set up on the USB drives, and antiviruses that can do so in most cases require to obtain quite an expensive license. For this instance, I can recommend you to use another solution of GridinSoft - Trojan Killer Portable. It has a 14-days cost-free trial mode that offers the entire features of the paid version. This term will definitely be 100% enough to wipe malware out.
Trojan Killer is a valuable tool in your cybersecurity arsenal, helping you to effectively remove malware from infected computers. Now, we will walk you through the process of using Trojan Killer from a USB flash drive to scan and remove malware on an infected PC. Remember, always obtain permission to scan and remove malware from a computer that you do not own.
Step 1: Download & Install Trojan Killer on a Clean Computer:
1. Go to the official GridinSoft website (gridinsoft.com) and download Trojan Killer to a computer that is not infected.
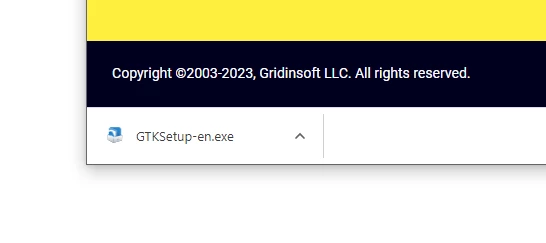
2. Insert a USB flash drive into this computer.
3. Install Trojan Killer to the "removable drive" following the on-screen instructions.
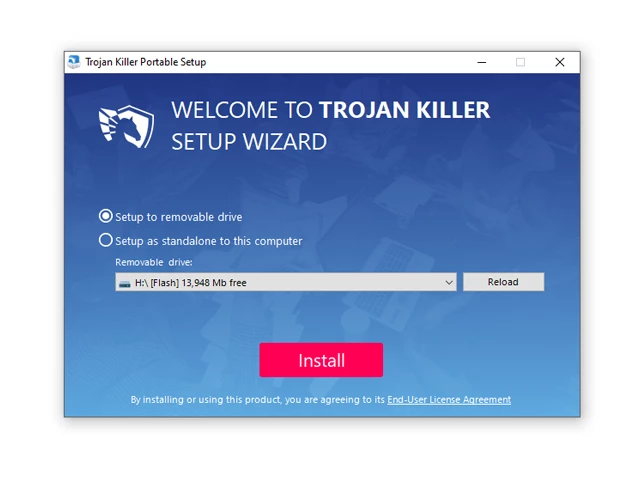
4. Once the installation is complete, launch Trojan Killer.
Step 2: Update Signature Databases:
5. After launching Trojan Killer, ensure that your computer is connected to the Internet.
6. Click "Update" icon to download the latest signature databases, which will ensure the tool can detect the most recent threats.
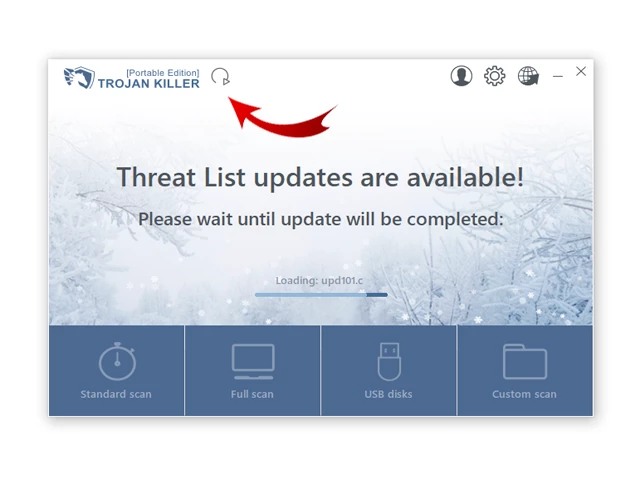
Step 3: Scan the Infected PC:
7. Safely eject the USB flash drive from the clean computer.
8. Boot the infected computer to the Safe Mode.
9. Insert the USB flash drive.
10. Run tk.exe
11. Once the program is open, click on "Full Scan" to begin the malware scanning process.
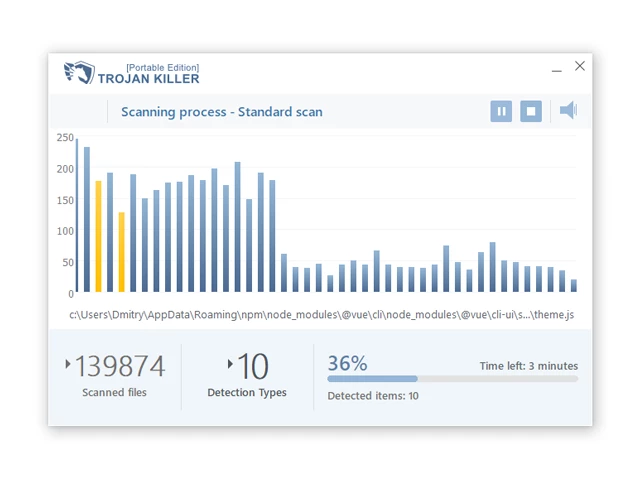
Step 4: Remove Found Threats:
12. After the scan is complete, Trojan Killer will display a list of detected threats.
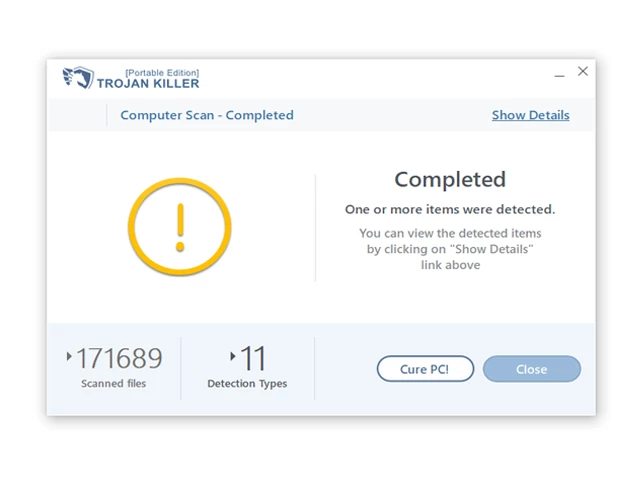
13. Click on "Cure PC!" to remove the identified malware from the infected PC.
14. Follow any additional on-screen prompts to complete the removal process.
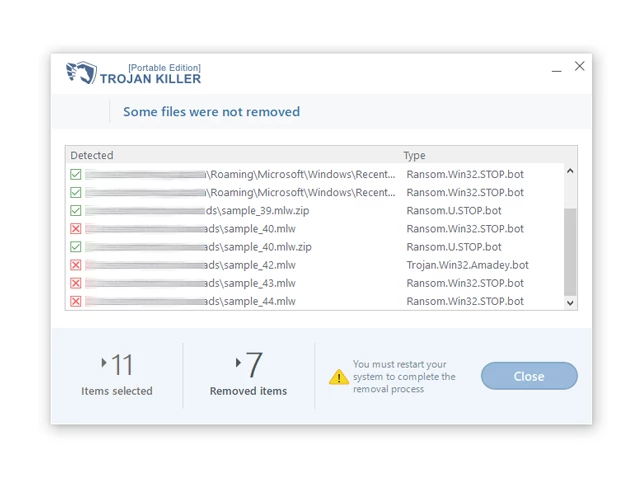
Step 5: Restart Your Computer:
15. Once the threats are removed, click on "Restart PC" to reboot your computer.
16. Remove the USB flash drive from the infected computer.
Congratulations on effectively removing Trojan Miner and the concealed threats from your computer! You can now have peace of mind, knowing that they won't resurface again. Thanks to Gridinsoft's capabilities and commitment to cybersecurity, your system is now protected.
User Review
( votes)