
The PUA:Win32/Vigua.A detection is a sign that your computer has a problem. Allowing it to keep running may lead to some terrible consequences.
Although Vigua’s unwanted program can not be called full-size malware, it has plenty of signs to claim that you will not be pleased with the changes this brings to your PC. PUAs like that can be just an annoying thing, as well as cause a severe impact on your system’s functioning. Moreover, there are many cases when users report that this application collects user data or other sensitive stuff.
Malicious activities done by PUA:Win32/Vigua.A
- Displaying unwanted ads and pop-ups.
- Rediricting your web searches.
- Collecting your personal information.
- Slowing down your computer.
- Installing other malware.
PUA:Win32/Vigua.A Removal Guide
The most effective method for eliminating malware from your device involves using anti-malware software. I highly recommend GridinSoft Anti-Malware as it offers a swift, lightweight, and highly efficient security solution capable of effectively thwarting a wide range of threats, including PUA:Win32/Vigua.A. You can use a comprehensive 6-day free trial to assess its effectiveness.
While it’s technically possible to attempt manual removal of the threat, I strongly discourage this approach. To establish persistence, the malware generates multiple instances of itself, rendering it nearly impossible to trace and eliminate all its components manually. Consequently, manual removal efforts are often time-consuming and yield little efficiency. I have compiled a guide below outlining the best removal practices to facilitate the removal of PUA:Win32/Vigua.A.
Manual PUA:Win32/Vigua.A Removal
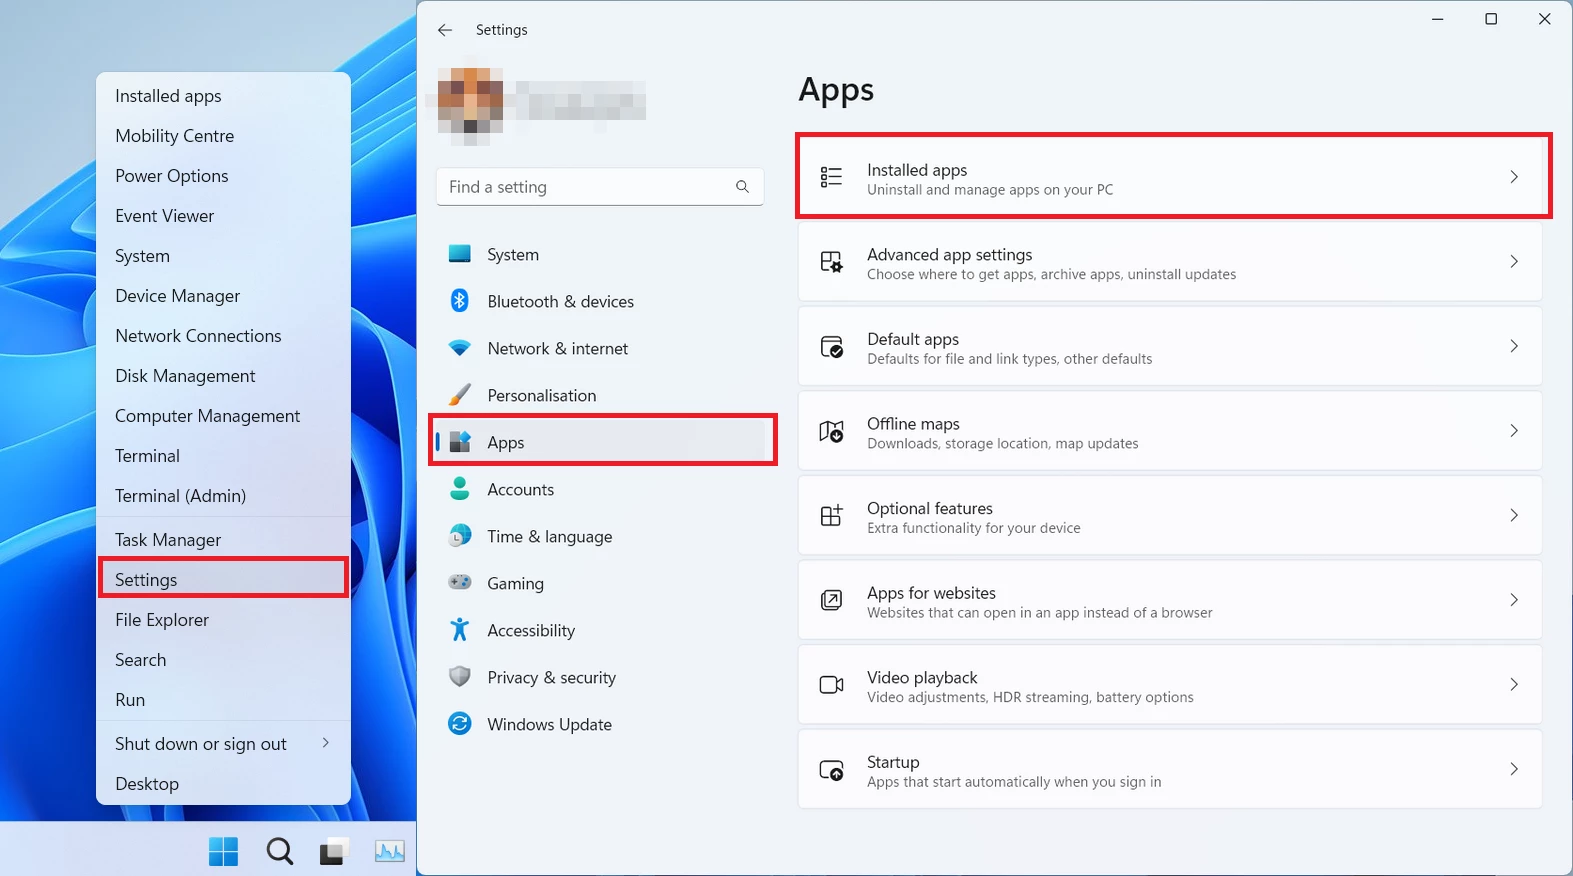
You can remove PUA:Win32/Vigua.A manually, through the system Settings app. Click the Windows button with the right mouse button and find Settings in the appeared list. In Settings, go to Apps → Installed Apps menu.
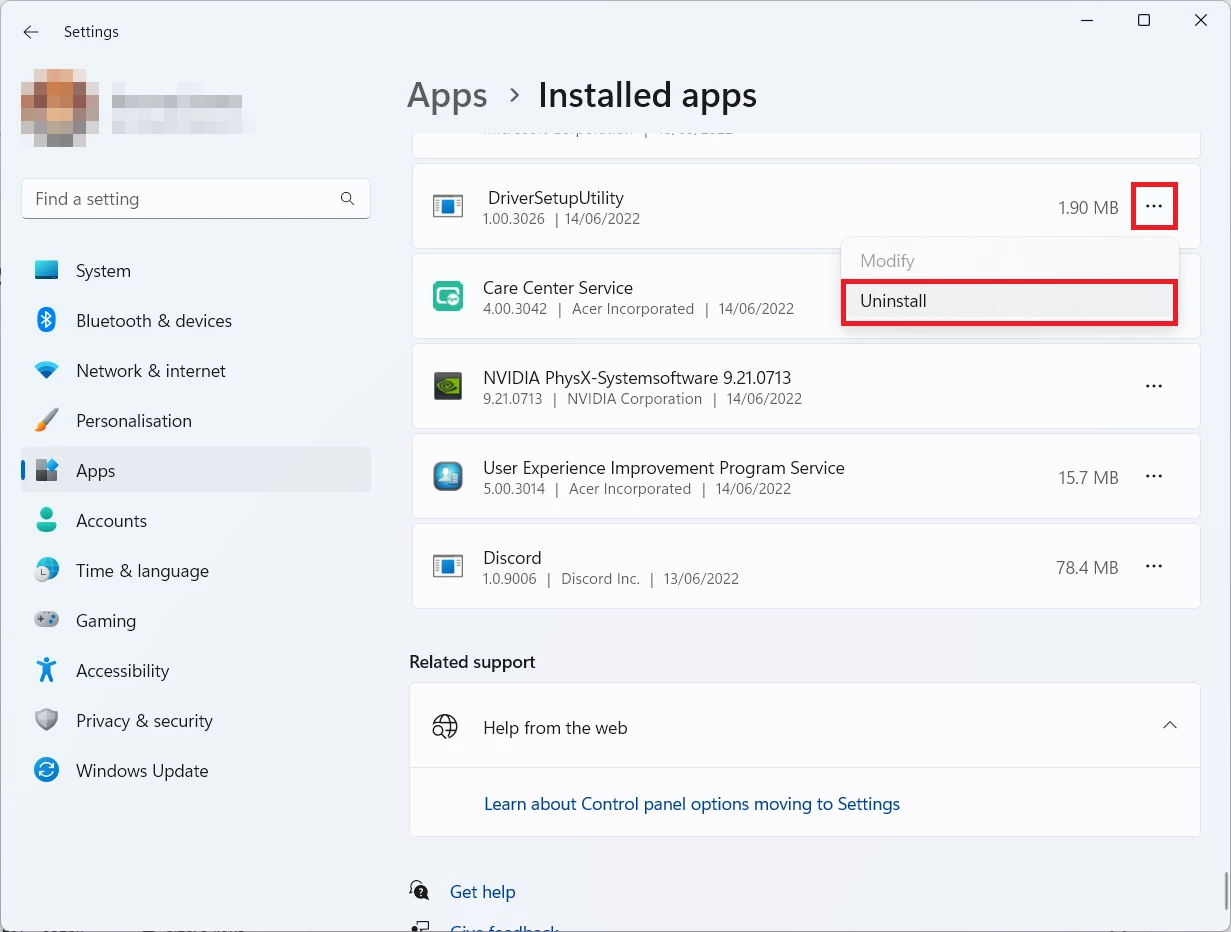
There, find the apps you do not remember installing. If you know a specific one that Avast/AVG is complaining on with the MiscX-gen detection, seek for them. Click the three-dot symbol to the right, and then choose “Uninstall”.
Remove Vigua with Gridinsoft Anti-Malware
We have also been using this software on our systems ever since, and it has always been successful in detecting viruses. It has blocked the most common PUAs as shown from our tests with the software, and we assure you that it can remove Vigua as well as other malware hiding on your computer.
To use Gridinsoft for remove malicious threats, follow the steps below:
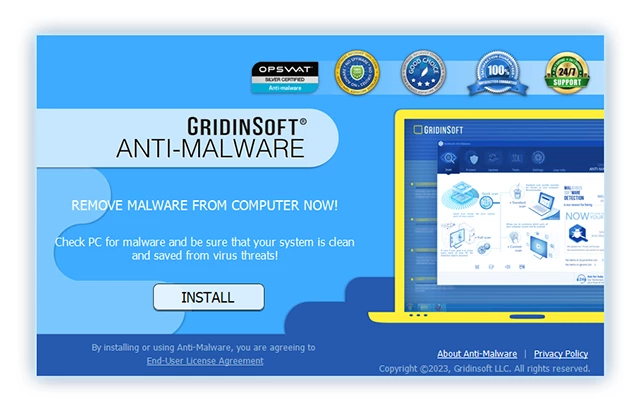
1. Begin by downloading Gridinsoft Anti-Malware, accessible via the blue button below or directly from the official website gridinsoft.com.
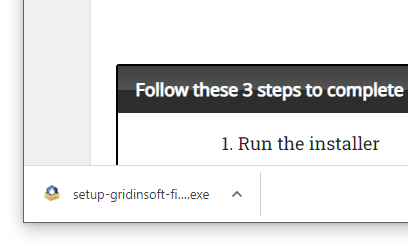
2.Once the Gridinsoft setup file (setup-gridinsoft-fix.exe) is downloaded, execute it by clicking on the file.
3.Follow the installation setup wizard's instructions diligently.
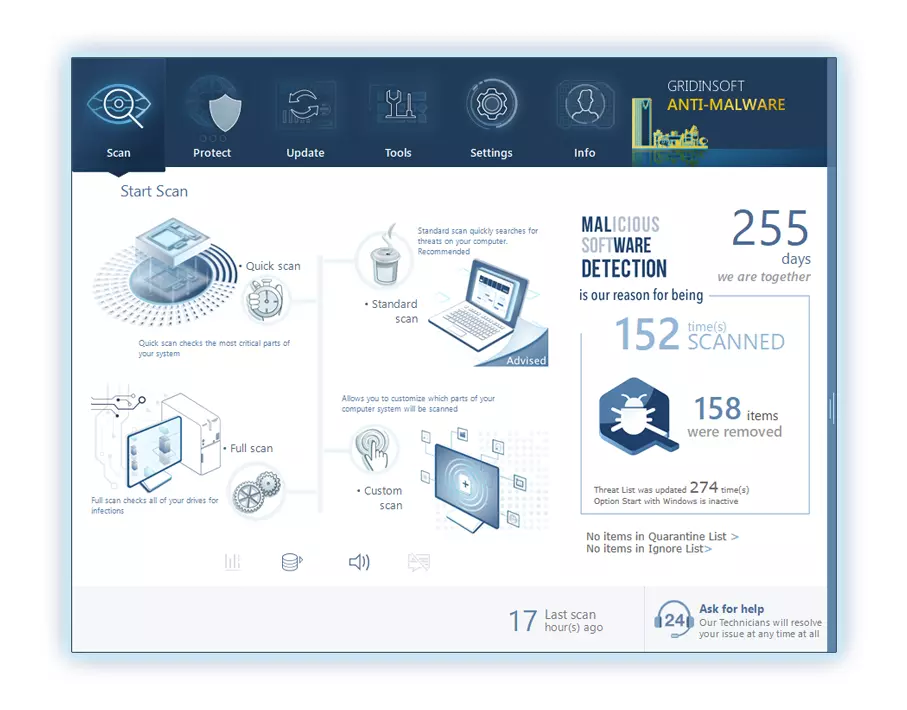
4. Access the "Scan Tab" on the application's start screen and launch a comprehensive "Full Scan" to examine your entire computer. This inclusive scan encompasses the memory, startup items, the registry, services, drivers, and all files, ensuring that it detects malware hidden in all possible locations.
Be patient, as the scan duration depends on the number of files and your computer's hardware capabilities. Use this time to relax or attend to other tasks.
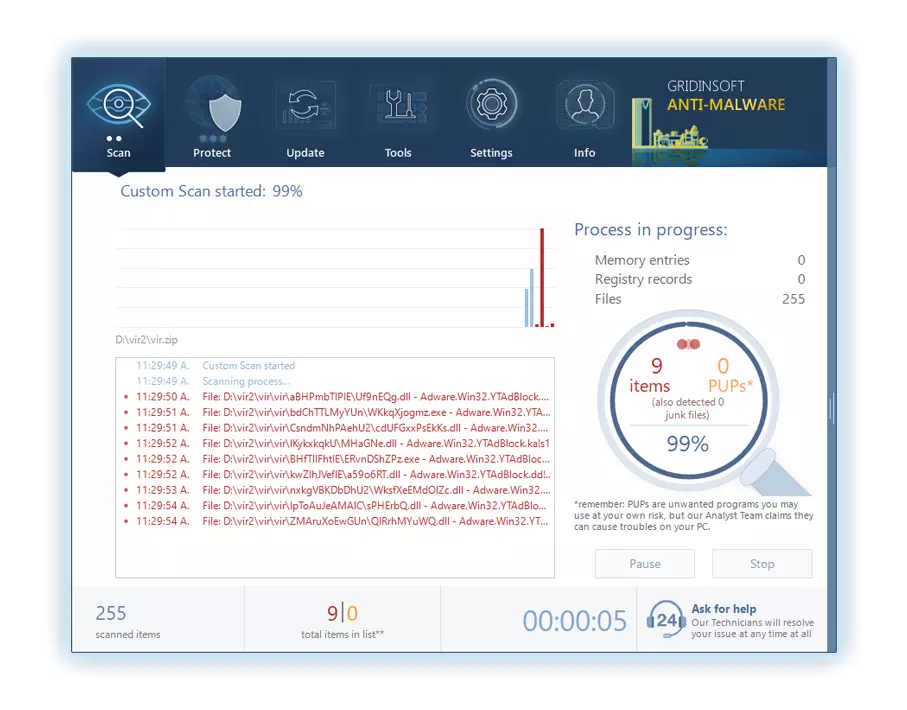
5. Upon completion, Anti-Malware will present a detailed report containing all the detected malicious items and threats on your PC.
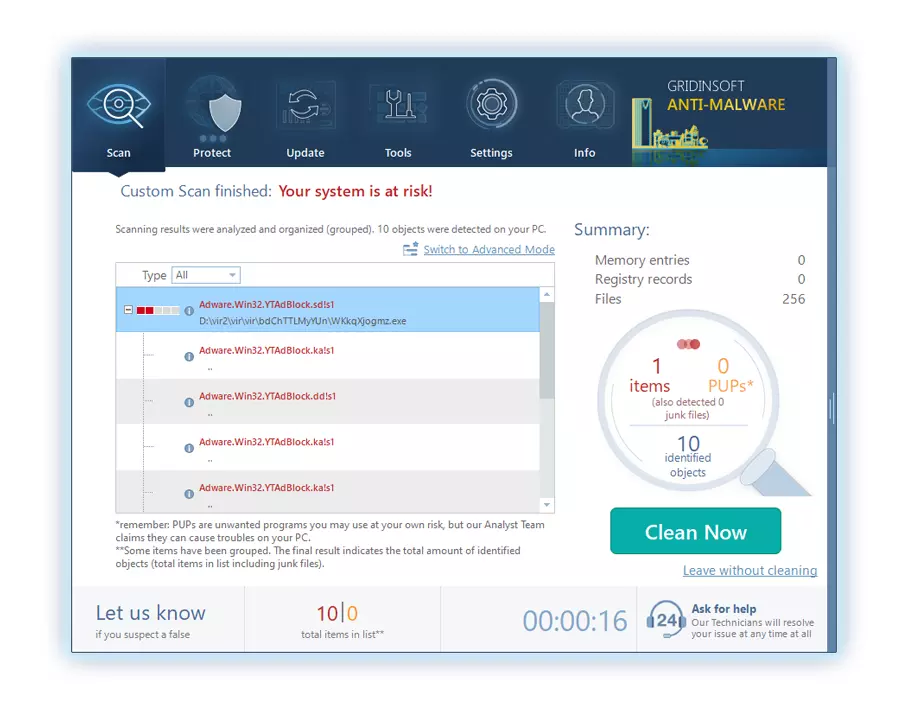
6. Select all the identified items from the report and confidently click the "Clean Now" button. This action will safely remove the malicious files from your computer, transferring them to the secure quarantine zone of the anti-malware program to prevent any further harmful actions.
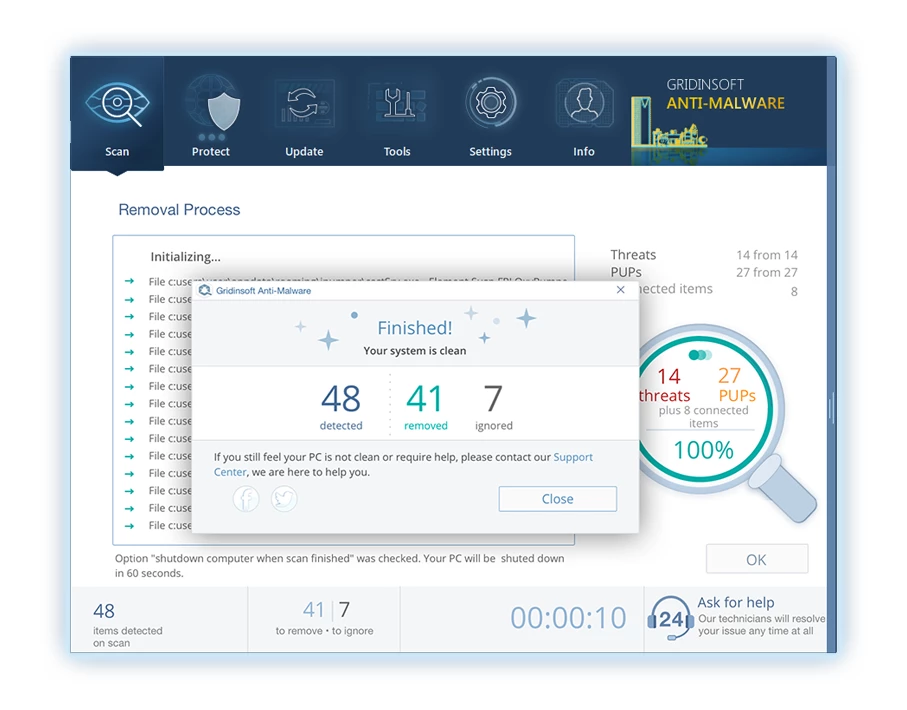
8. If prompted, restart your computer to finalize the full system scan procedure. This step is crucial to ensure thorough removal of any remaining threats. After the restart, Gridinsoft Anti-Malware will open and display a message confirming the completion of the scan.
Remember Gridinsoft offers a 6-day free trial. This means you can take advantage of the trial period at no cost to experience the full benefits of the software and prevent any future malware infections on your system. Embrace this opportunity to fortify your computer's security without any financial commitment.
Trojan Killer for “Vigua” removal on locked PC
In situations where it becomes impossible to download antivirus applications directly onto the infected computer due to malware blocking access to websites, an alternative solution is to utilize the Trojan Killer application.
There is a really little number of security tools that are able to be set up on the USB drives, and antiviruses that can do so in most cases require to obtain quite an expensive license. For this instance, I can recommend you to use another solution of GridinSoft - Trojan Killer Portable. It has a 14-days cost-free trial mode that offers the entire features of the paid version. This term will definitely be 100% enough to wipe malware out.
Trojan Killer is a valuable tool in your cybersecurity arsenal, helping you to effectively remove malware from infected computers. Now, we will walk you through the process of using Trojan Killer from a USB flash drive to scan and remove malware on an infected PC. Remember, always obtain permission to scan and remove malware from a computer that you do not own.
Step 1: Download & Install Trojan Killer on a Clean Computer:
1. Go to the official GridinSoft website (gridinsoft.com) and download Trojan Killer to a computer that is not infected.
2. Insert a USB flash drive into this computer.
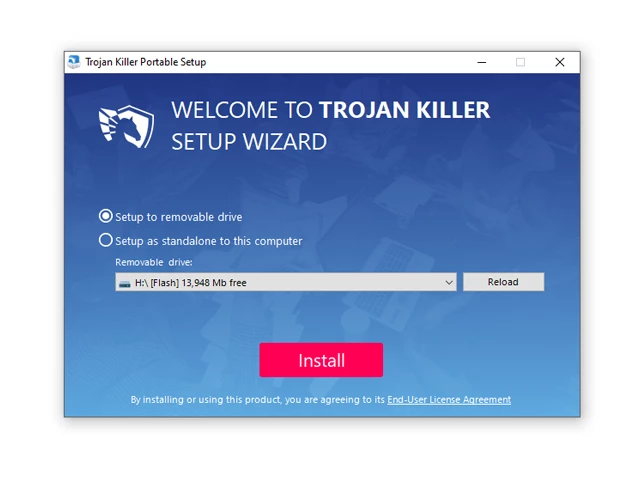
3. Install Trojan Killer to the "removable drive" following the on-screen instructions.
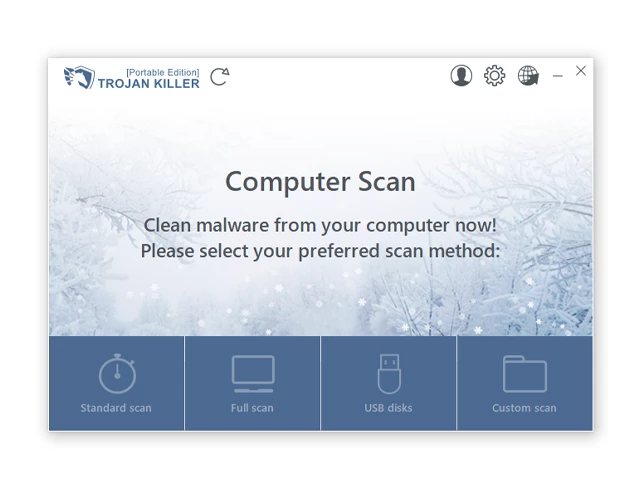
4. Once the installation is complete, launch Trojan Killer.
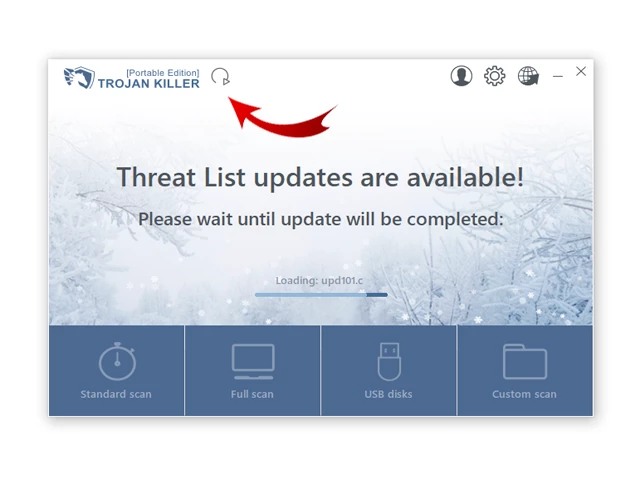
Step 2: Update Signature Databases:
5. After launching Trojan Killer, ensure that your computer is connected to the Internet.
6. Click "Update" icon to download the latest signature databases, which will ensure the tool can detect the most recent threats.
Step 3: Scan the Infected PC:
7. Safely eject the USB flash drive from the clean computer.
8. Boot the infected computer to the Safe Mode.
9. Insert the USB flash drive.
10. Run tk.exe
11. Once the program is open, click on "Full Scan" to begin the malware scanning process.

Step 4: Remove Found Threats:
12. After the scan is complete, Trojan Killer will display a list of detected threats.
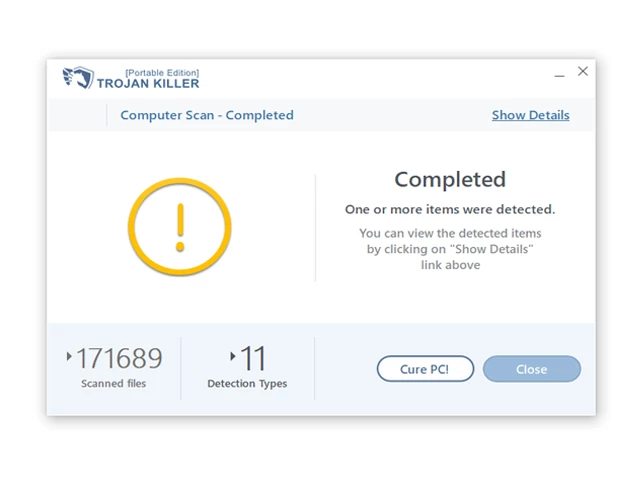
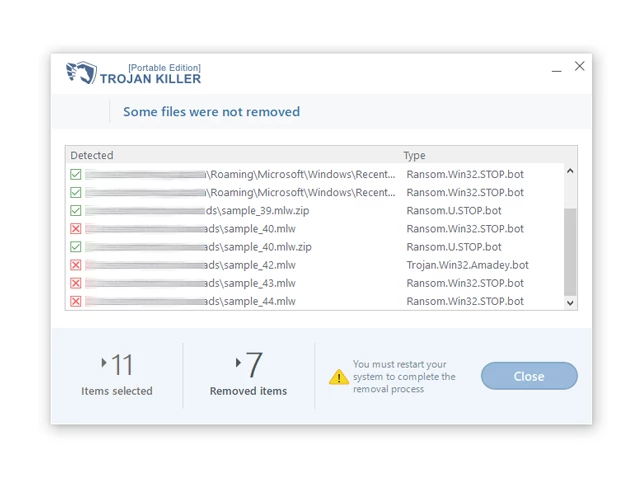
13. Click on "Cure PC!" to remove the identified malware from the infected PC.
14. Follow any additional on-screen prompts to complete the removal process.
Step 5: Restart Your Computer:
15. Once the threats are removed, click on "Restart PC" to reboot your computer.
16. Remove the USB flash drive from the infected computer.
Congratulations on effectively removing Vigua and the concealed threats from your computer! You can now have peace of mind, knowing that they won't resurface again. Thanks to Gridinsoft's capabilities and commitment to cybersecurity, your system is now protected.
Reset your browser settings
As Vigua Trojan may modify your browser settings, it is recommended to turn them back to factory settings. You can do it both manually and with the help of GridinSoft Anti-Malware.
Reset your browsers with GridinSoft Anti-Malware
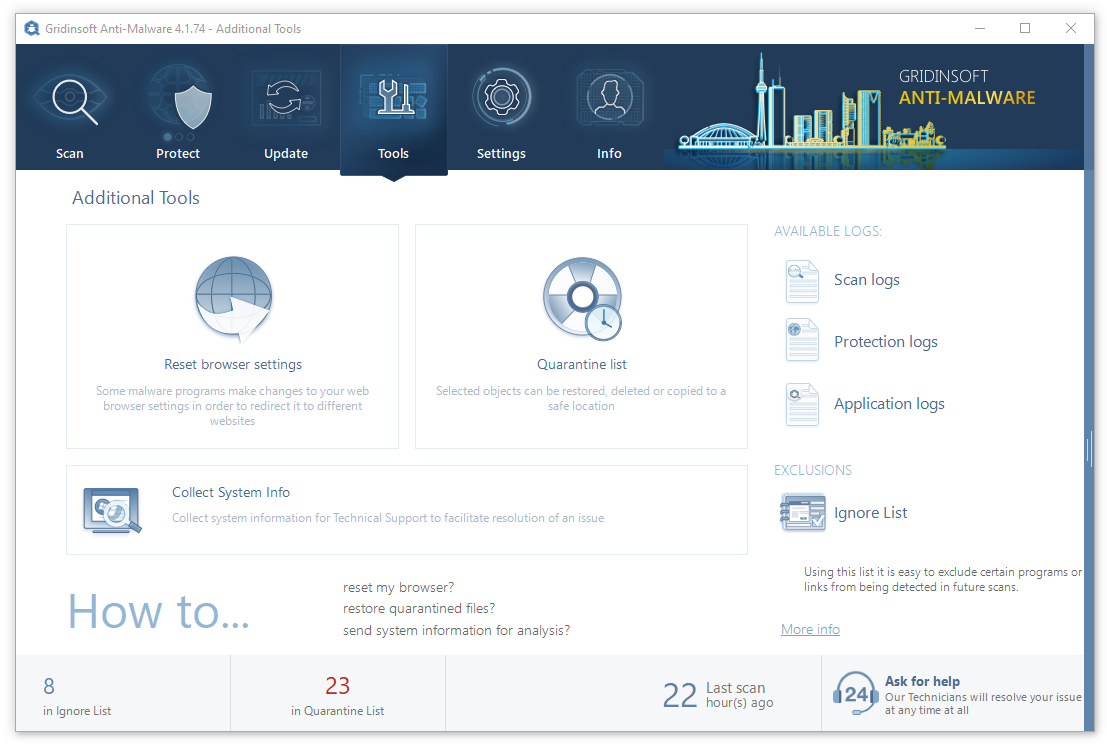
To reset your browser with GridinSoft Anti-Malware, open the Tools tab, and click the “Reset browser settings” button.
You may see the list of options for each browser. By default, they are set up in a manner that fits the majority of users. Press the “Reset” button (lower right corner). In a minute your browser will be as good as new.
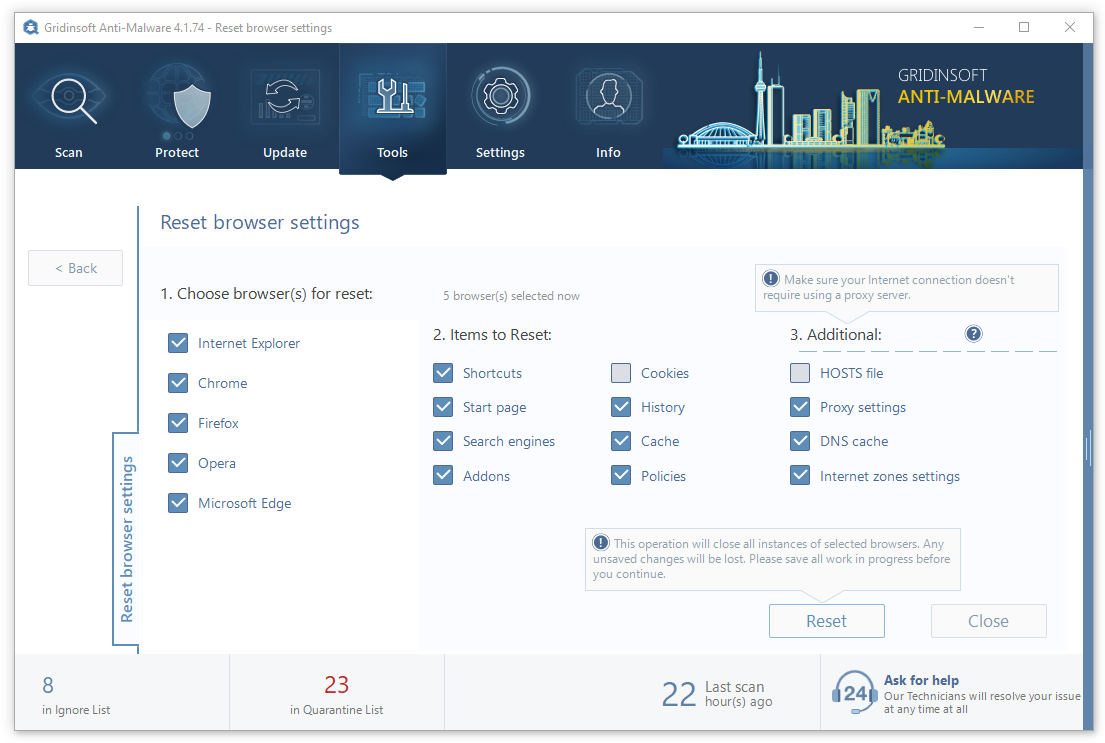
The browser reset is recommended to perform through the antivirus tool by GridinSoft, because the latter is also able to reset the HOSTS file without any additional commands.
Reset your browsers manually
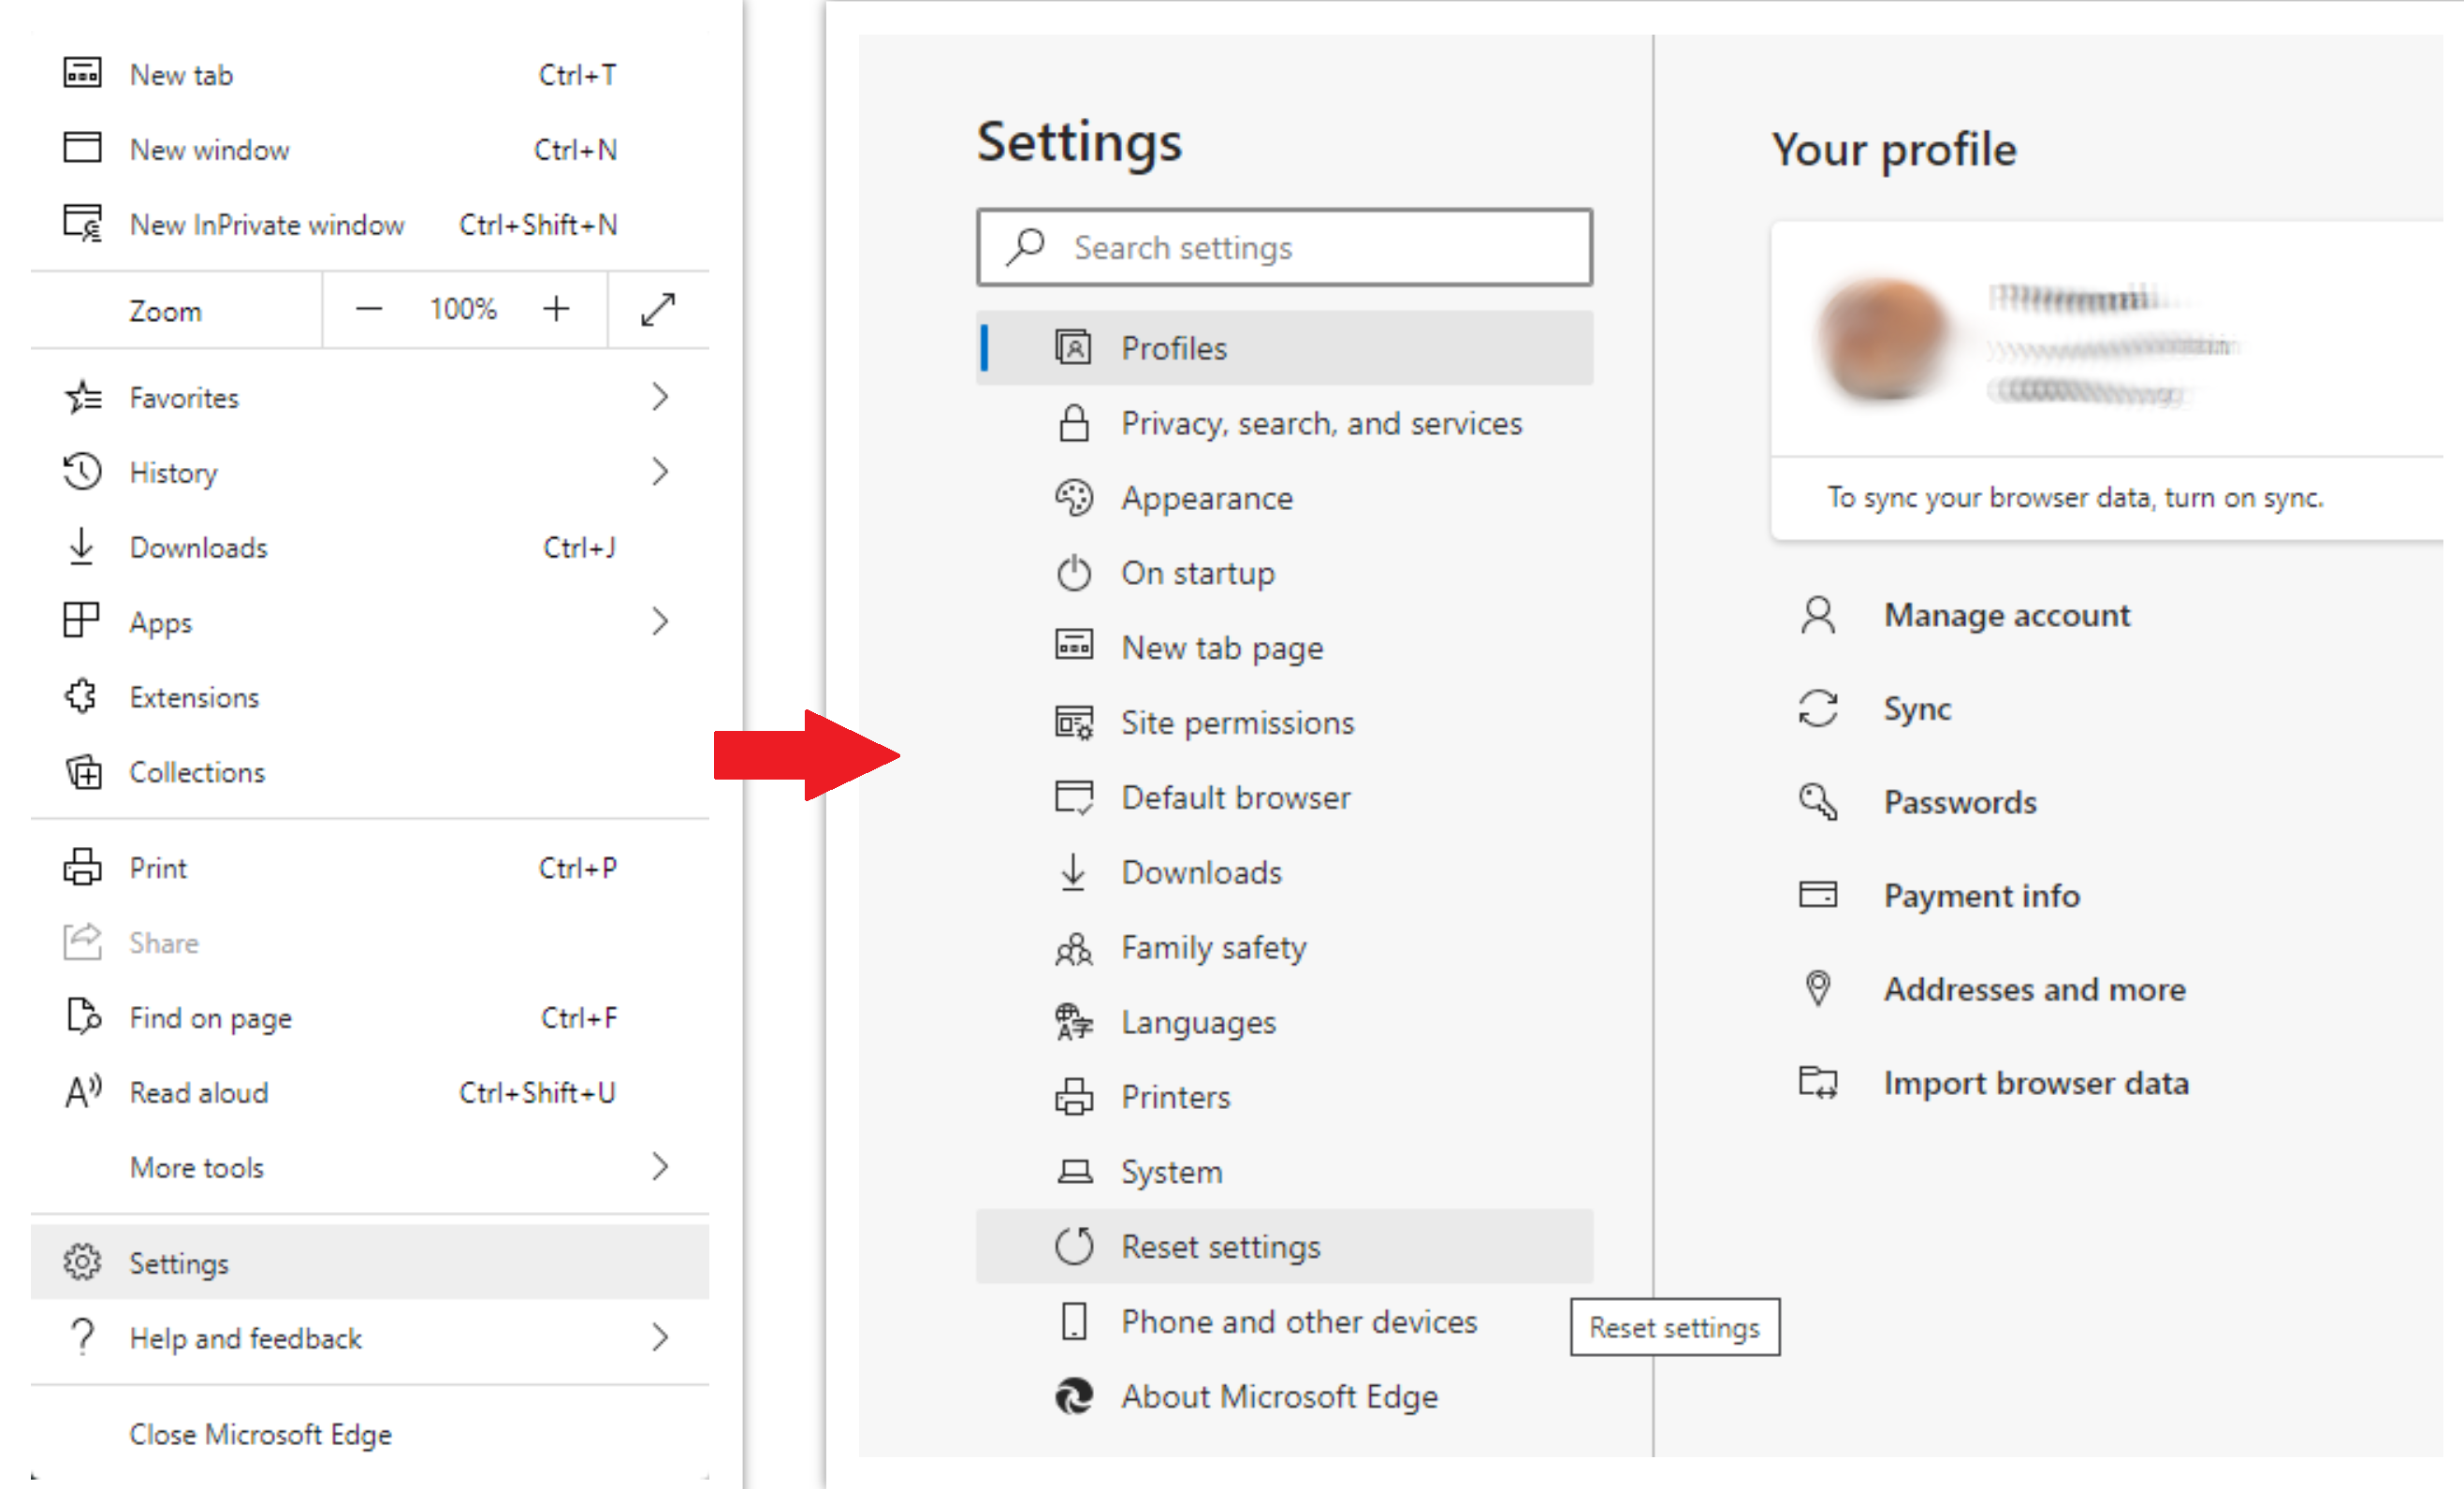
To reset Edge, do the following steps:
- Open “Settings and more” tab in upper right corner, then find here “Settings” button. In the appeared menu, choose “Reset settings” option:
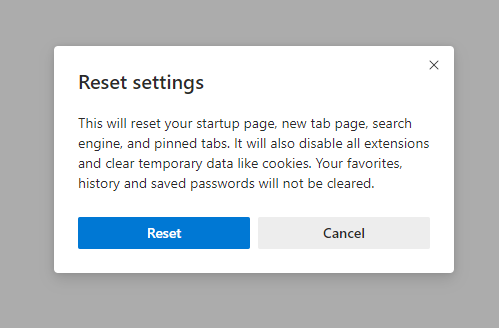
- After picking the Reset Settings option, you will see the following menu, stating about the settings which will be reverted to original:
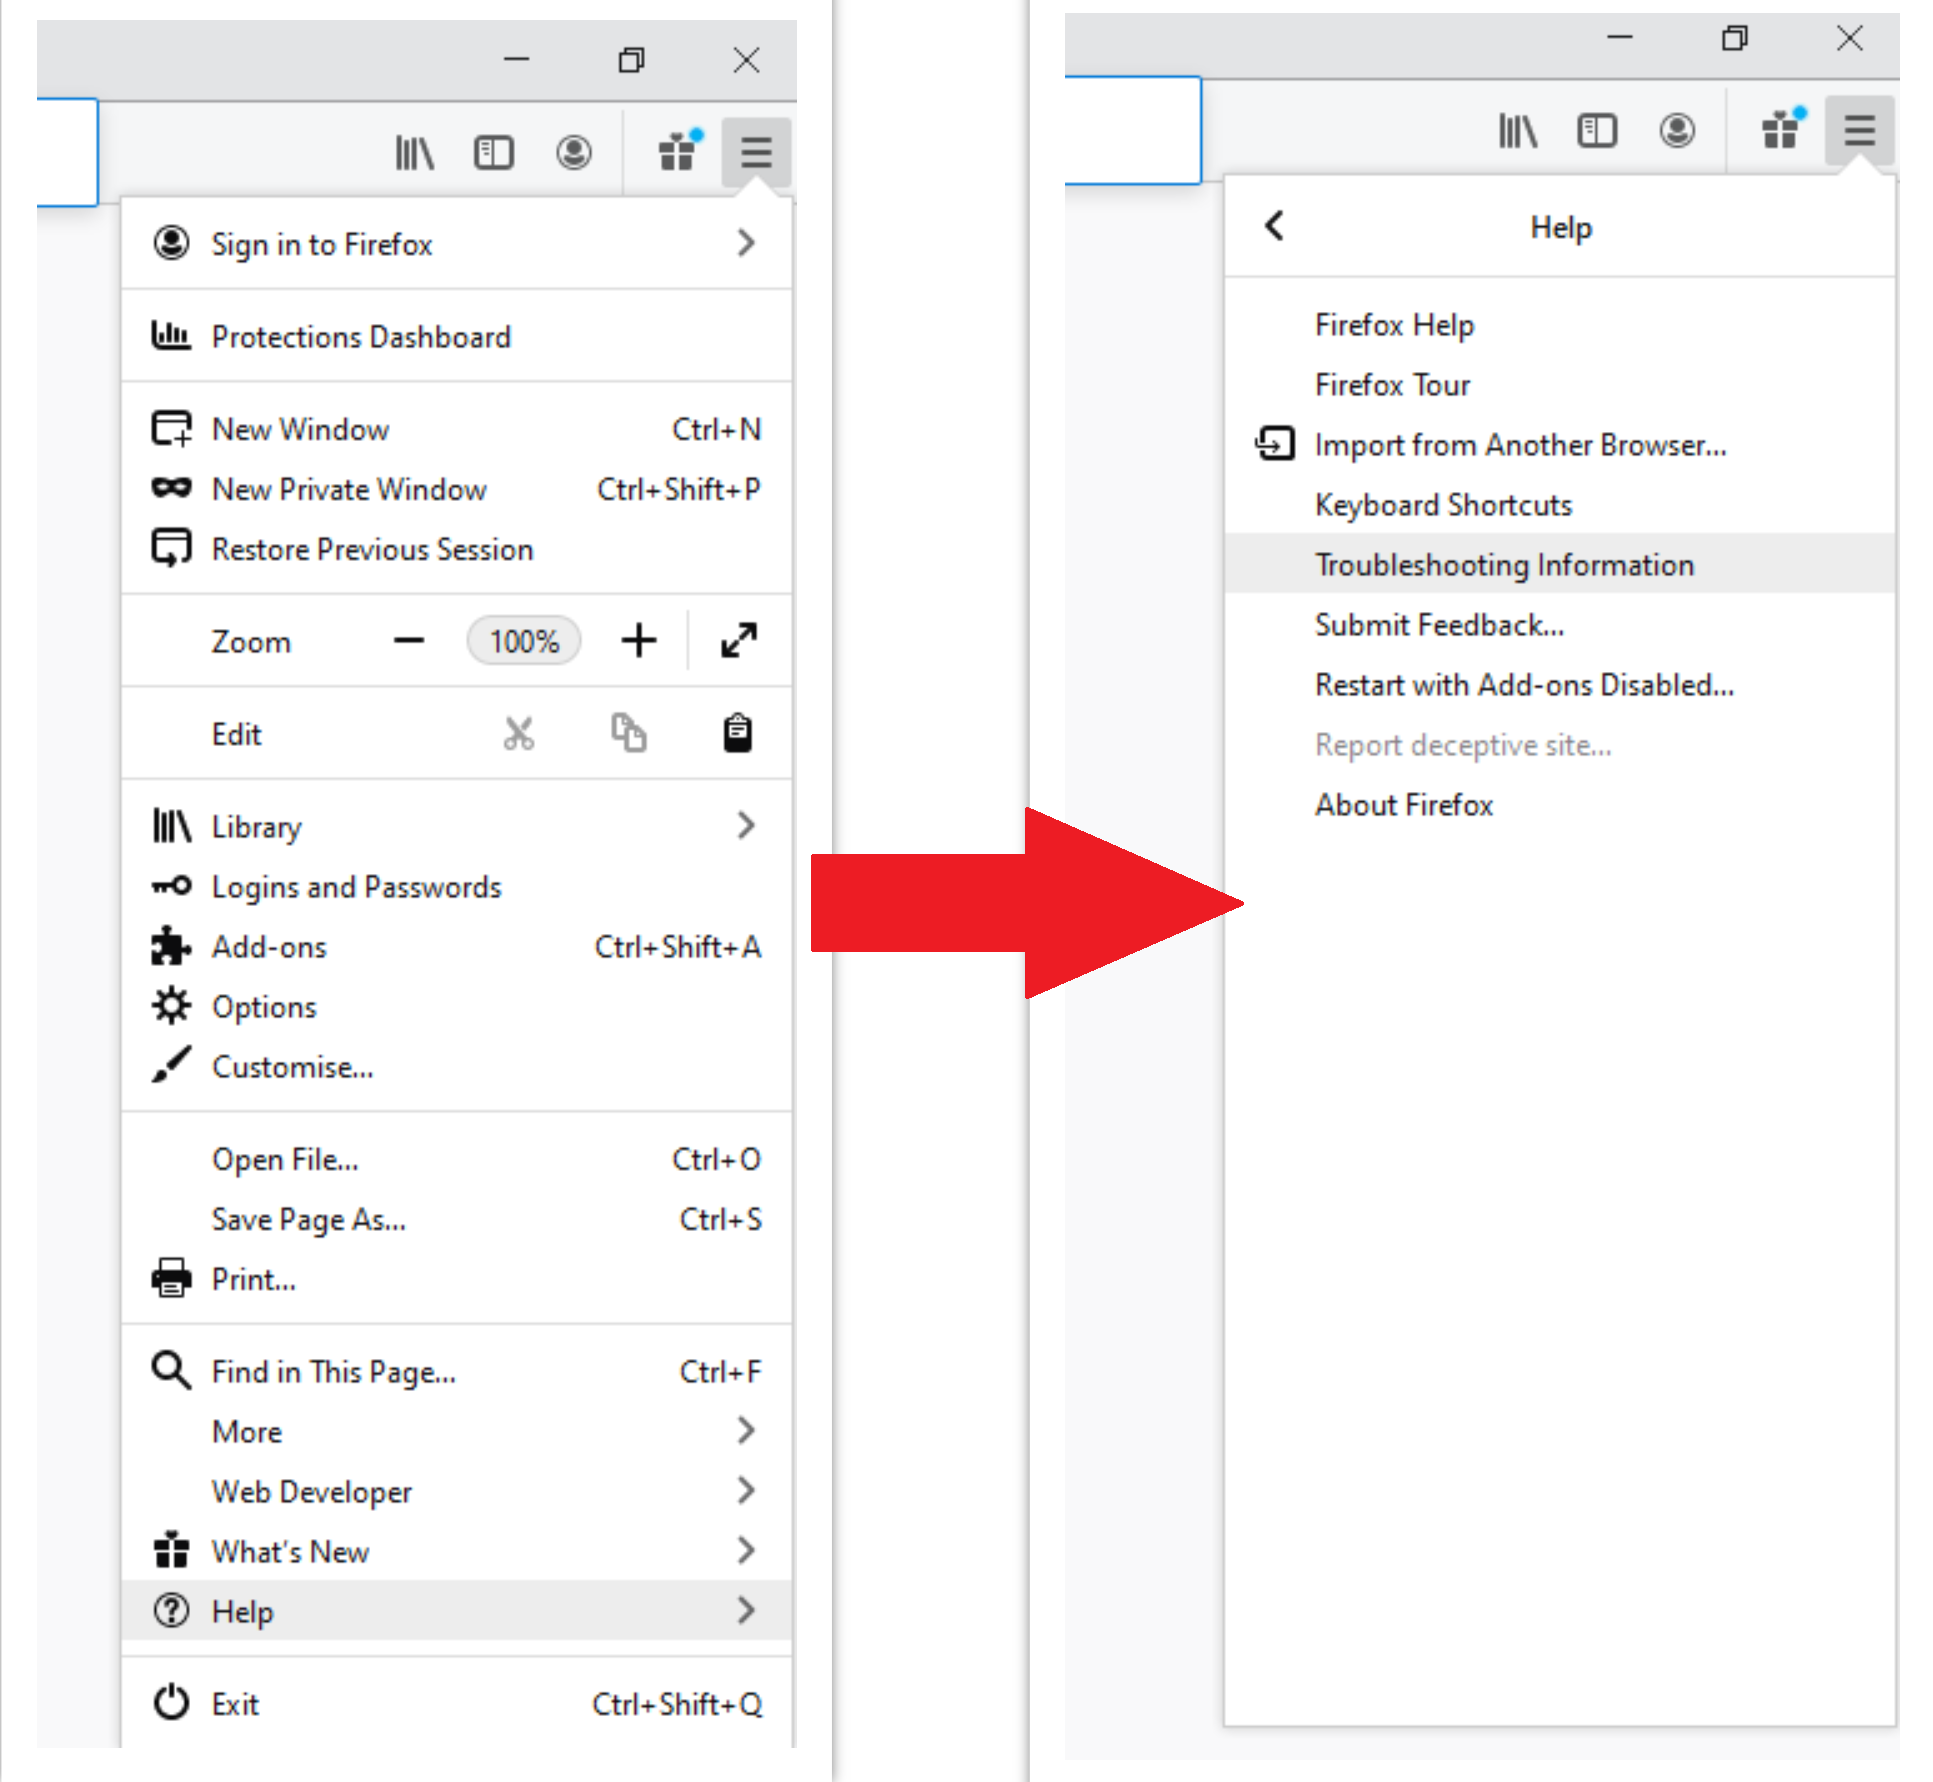
For Mozilla Firefox, do the next actions:
- Open Menu tab (three strips in upper right corner) and click the “Help” button. In the appeared menu choose “troubleshooting information”:
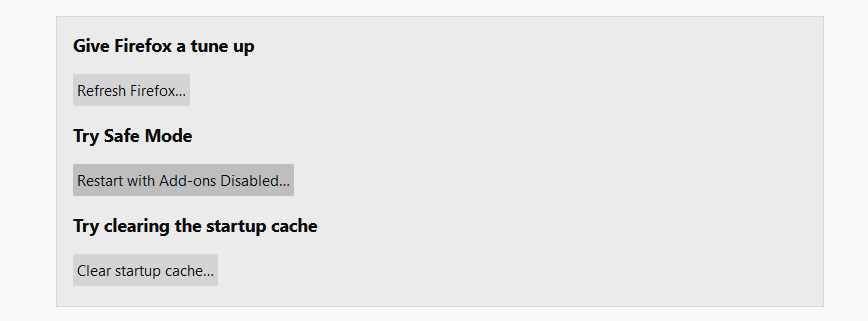
- In the next screen, find the “Refresh Firefox” option:
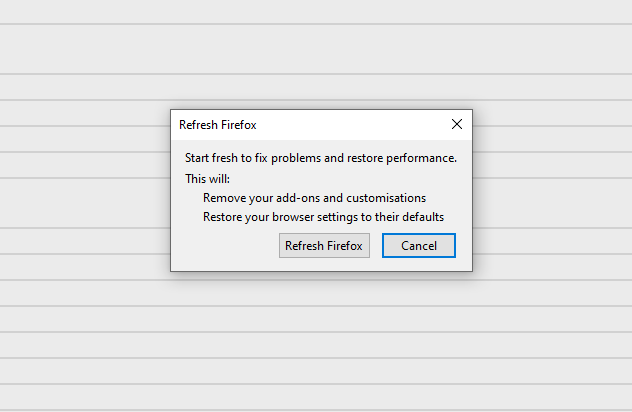
After choosing this option, you will see the next message:
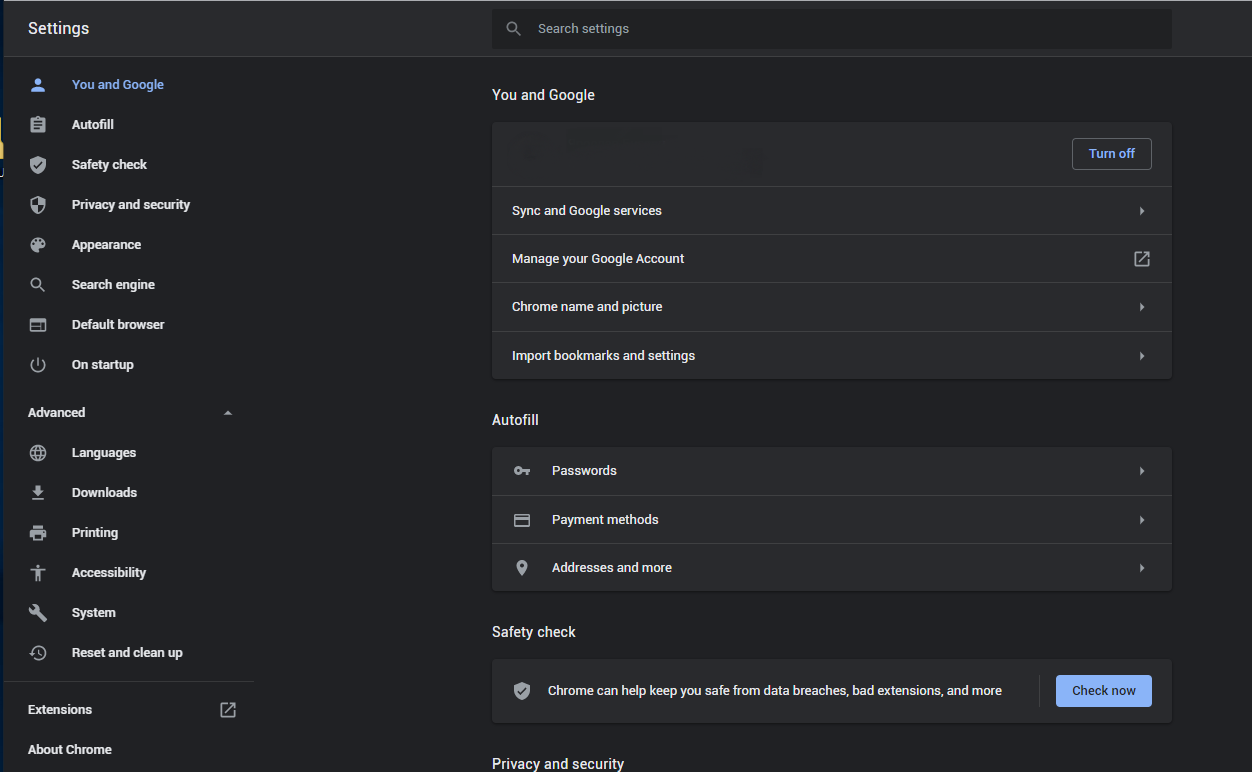
If you use Google Chrome
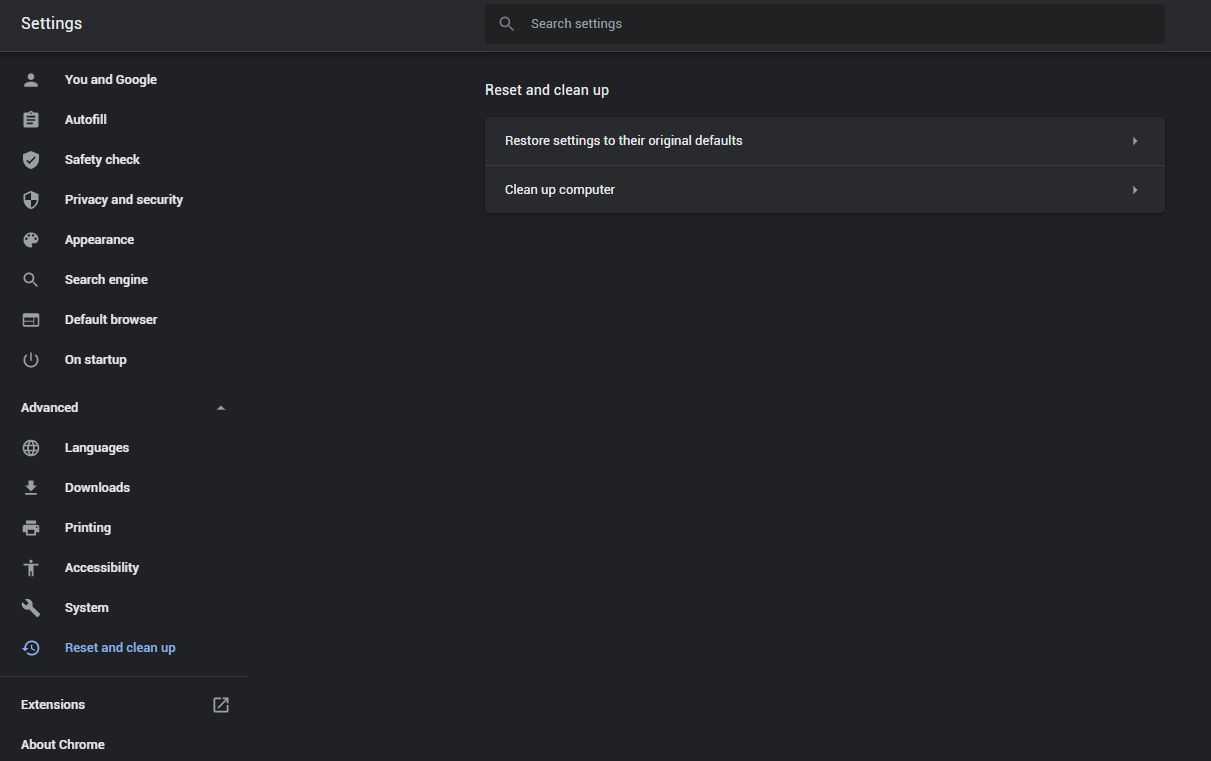
- Open Settings tab, find the “Advanced” button. In the extended tab choose the “Reset and clean up” button:
- In the appeared list, click on the “Restore settings to their original defaults”:
- Finally, you will see the window, where you can see all the settings which will be reset to default:

Opera can be reset in the next way
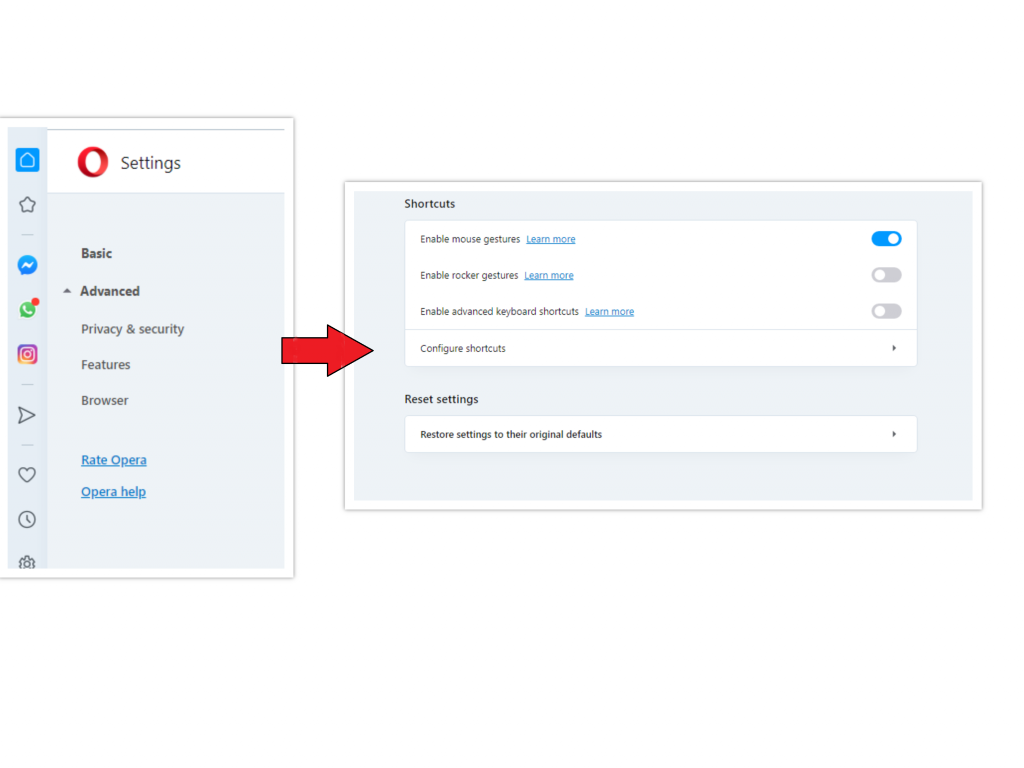
- Open Settings menu by pressing the gear icon in the toolbar (left side of the browser window), then click “Advanced” option, and choose “Browser” button in the drop-down list. Scroll down, to the bottom of the settings menu. Find there “Restore settings to their original defaults” option:
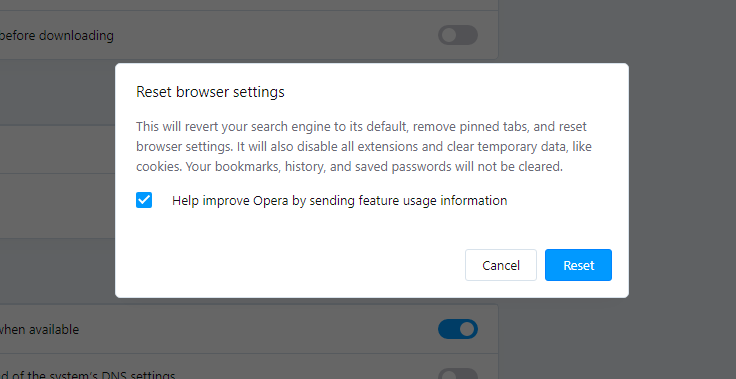
- After clicking the “Restore settings…” button, you will see the window, where all settings, which will be reset, are shown:
When the browsers are reset, you need to ensure that your browser will connect the right DNS while connecting to the web page you need. Create a text file titled “hosts” on your pc’s desktop, then open it and fill it with the following lines1:
 # Copyright (c) 1993-2006 Microsoft Corp.
 #
 # This is a sample HOSTS file used by Microsoft TCP/IP for Windows.
 #
 # This file contains the mappings of IP addresses to host names. Each
 # entry should be kept on an individual line. The IP address should
 # be placed in the first column followed by the corresponding host name.
 # The IP address and the host name should be separated by at least one
 # space.
 #
 # Additionally, comments (such as these) may be inserted on individual
 # lines or following the machine name denoted by a '#' symbol.
 #
 # For example:
 #
 # 102.54.94.97 rhino.acme.com # source server
 # 38.25.63.10 x.acme.com # x client host
 # localhost name resolution is handle within DNS itself.
 # 127.0.0.1 localhost
 # ::1 localhost
What is PUA:Win32/Vigua.A Virus?
User Review
( votes)References
- Official Microsoft guide for hosts file reset.