What is Antimalware Service Executable?
The Antimalware Service Executable process is of crucial importance in the Windows Defender Service that goes integrated with Windows 10 and Windows 11. Nevertheless, it’s additionally known for consuming excessive CPU processing power and can even essentially slow down your PC’s performance, resulting in your inability to enjoy its use anymore.
If you’re a Windows Defender customer and have seen high CPU usage for quite a long time, you’ll be glad to find out that You can easily fix the problem.
In this tutorial, we’ve reviewed a few easy-to-follow recommendations you can refer to avoid Antimalware Service Executable from eating your system’s resources and maintaining your machine operating smoothly.
What does the msmpeng.exe (Antimalware Service Executable) stand for?
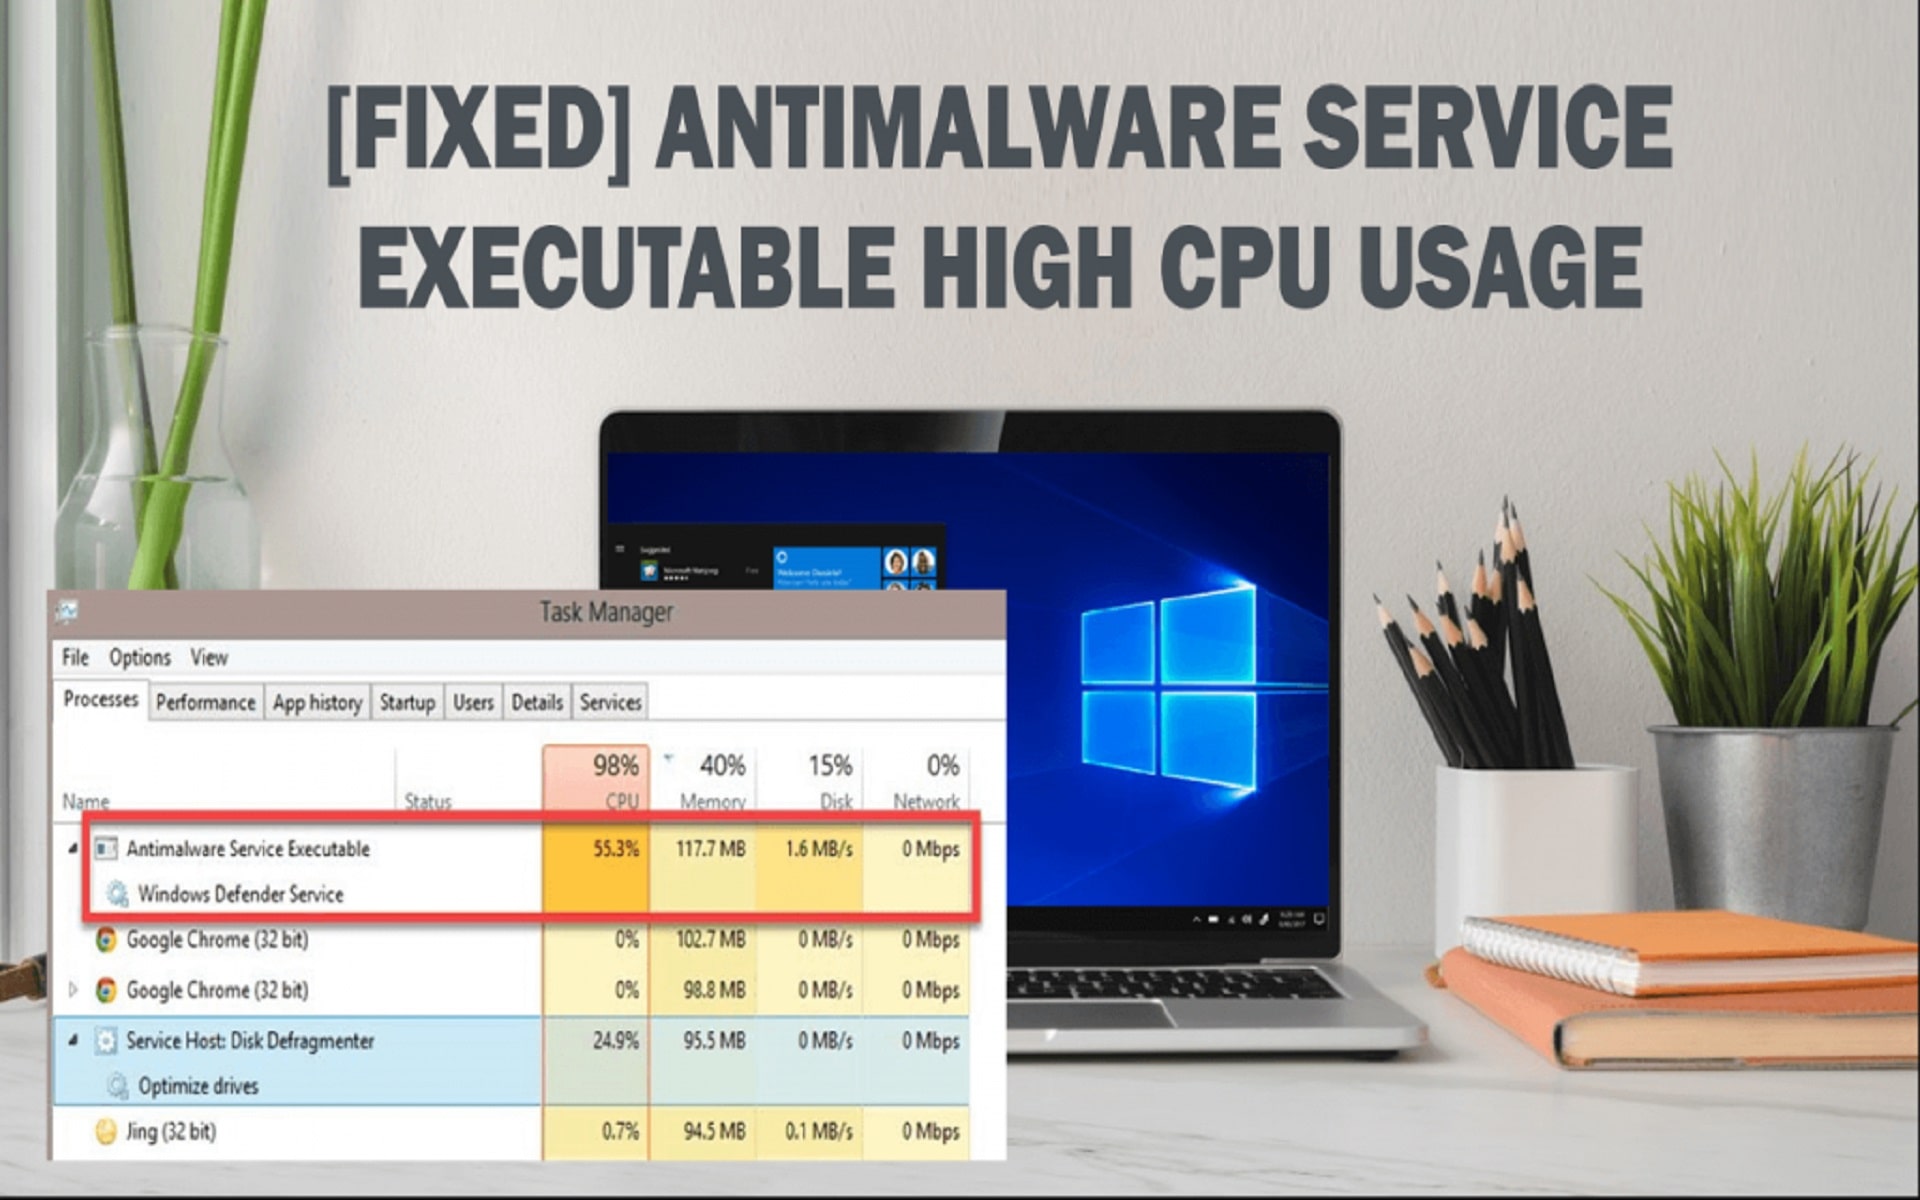
Do you run Windows Defender to defend your PC? If the answer to this question is “Yes”, then launch the Windows Task Manager (Ctrl + Shift + Esc or Start Menu > Task Manager), scroll via the range of background processes and you will locate a process named Antimalware Service Executable and its appropriate file msmpeng.exe.
This process lets Windows Defender permanently track your PC for possible threats and render real-time defense against threats and cyberattacks. On the other hand, it can also be the reason for extremely high CPU1 usage.
Another Windows Defender component that may cause the slowdown of your system is its Full Scan, which implements a full inspection of all files on your PC. Full Scan is grounded basically on the CPU and is not shy to apply whatever resources your system has got; as a consequence, you may face lag, delays, freezing and other system troubles when it is active.
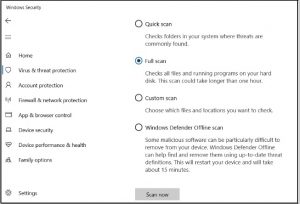
Though it is pretty natural for antivirus applications to consume system resources while running a scan, Windows Defender is far more hungry than the rest. It is known to use excessive CPU for a longer duration and implement scans right when you’re waking up the PC to write an email or load a webpage quickly.
Even though this can be scary, it’s crucial that you don’t deactivate Windows Defender without initially installing another IT security program – it may be the only defense that protects your system from the online criminals! Let the application perform its direct function, delete any threats and then implement these recommendations to prevent the problem from retaking place:
Solution 1: Modify Windows Defender’s scheduling options
For the majority of customers, the high memory consumption caused by Antimalware Service Executable typically occurs when Windows Defender is performing a full scan. We can fix this by scheduling the scans to happen at a time when you don’t feel anything is draining on your CPU.
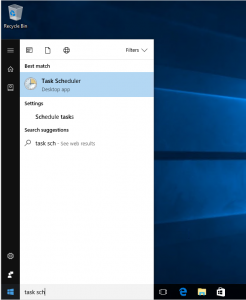
- Go to the Start menu, specify “task scheduler” and click the top result to run the utility.
- In the navigation section on the left, double click Task Scheduler Library. Proceed to expand these folders and go to the following location: Library/Microsoft/Windows/Windows Defender.
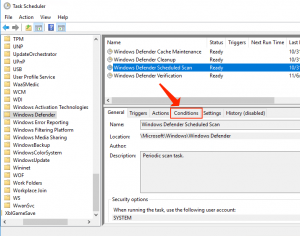
- Once you are in the Windows Defender folder, double click Windows Defender Scheduled Scan, placed in the middle pane.
- Click the Conditions tab, uncheck all parameters and click OK. This will remove your scheduled scans.
- To defend your PC, it is crucial to schedule certain new scans, but we can implement this in a way that will minimize the reflection on your system’s functionality. To make it possible, double click Windows Defender Scheduled Scan, chose the Triggers tab and click New.
- Generate a new scan schedule that complies with your expectations, choosing features that make the balance between defense and system performance. As a piece of advice, we suggest (at least) weekly scans at a time when you’ll be unlikely to see the higher CPU usage.
- Repeat the procedure for the three other services (Windows Defender Cache Maintenance, Windows Defender Cleanup, Windows Defender Verification) located in the Library/Microsoft/Windows/Windows Defender folder.
Solution 2: Place Antimalware Service Executable to Windows Defender’s exclusion list
In times of its scans, Windows Defender inspects every single file on your PC – including itself. This can sometimes result in certain unusual interactions and is a common reason for system lag. To prevent this, you can instruct Windows Defender to skip itself while implementing a system scan.
- Use the Ctrl + Shift + Esc hotkey to start Windows Task Manager.
- In the list of processes, look for Antimalware Service Executable. Right click on the process and choose Open File Location.
- In the address field, you’ll face the complete path of Antimalware Service Executable. Click on the address bar and copy the full path.
- Go to the Start menu, specify “windows defender” and click the upper result to start the Windows Defender Security Center.
- Select Virus & threat protection, then on Virus & threat protection preferences.
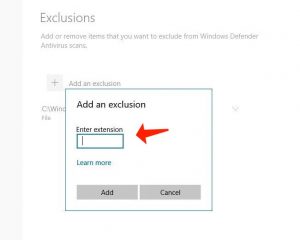
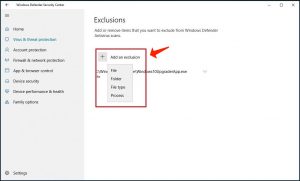
- Scroll down until “Exclusions” and choose Add or remove exclusions. In the next window, choose to Add an exclusion, choose Folder and paste the path to Antimalware Service Executable (MsMpEng.exe) in the address field. Then, click Open and the folder will now be removed from the scan.
Solution 3: Deactivate Windows Defender
If the issue still happens after implementing the first two solutions, you could be tempted to refer to deactivating Windows Defender completely. Bear in mind that doing so leaves your system exposed to a broad section of cyberattacks. Therefore, you must install a working anti-malware software on your PC before deactivating Windows Defender.
- Apply the Windows Key + R hotkey to start the Run Dialog Box.
- In the Run Dialog Box, specify regedit and choose OK to launch the Registry Editor.
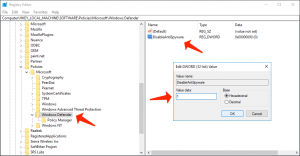
- In the navigation area on the left, double click the folders to proceed to HKEY_LOCAL_MACHINE\SOFTWARE\Policies\Microsoft\Windows Defender.
- In case you locate a registry entry called DisableAntiSpyware, double click it and define its value data to 1.
Consider reading: Microsoft Defender Offline. Guide to secure the PC.
4b. In case you do not find a registry entry called DisableAntiSpyware, right click in the main Registry Editor area and choose New > DWORD (32 bit) Value.
4c. Nominate this new registry entry DisableAntiSpyware. Double click it and define its value data to 1.
Solution 4: Search for malware threats
It’s likely that specific, more dangerous items result in Windows Defender disrupting your PC’s speed. Implement a complete system scan with the help of a reliable and lightweight anti-malware tool such as GridinSoft Anti-Malware to inspect your PC for any malware that may be preventing your PC from operating safely and trouble-free.
Windows Defender stands for a valuable utility, particularly because it goes free with your OS, but it can put a drain on your computer’s CPU. By fulfilling the recommendations reviewed in this tutorial, you’ll be capable of taking control of Antimalware Service Executable and maintaining your PC functionality at full speed.
Pay attention to this guide: Temporarily Disable Avast, Symantec, ESET, McAfee, Avira, Bitdefender For Windows 10
Feel free to express your experience by sharing your thoughts in the comments section below. Good luck!
User Review
( votes)References
- Central processing unit: https://en.wikipedia.org/wiki/Central_processing_unit
