
Chrome Virus Detection may cause rare, but annoying issues with your downloads. Even when the file is safe, its checkup may take too long, or show false detections. At some point, users want to turn it off. Let’s see how to disable Chrome Virus Detection system and which dangers may it bring to your computer.
What is Chrome Virus Detection?
Google Chrome is one of the most popular browsers, scoring over 65% of the entire browser market. Being that popular makes the developers responsible for various security concerns. Malware downloading is one of them, and for dealing with it, Chrome features its own virus detection system. It activates at the end of downloading if you use a default downloading mechanism in the browser. Before the checkup is over, you cannot interact with the file in any way. By design, this system is benevolent and reliable, giving malware much fewer chances to slip through. The system is integrated into the browser on a core level, meaning it is present in all browsers based on Chromium core.
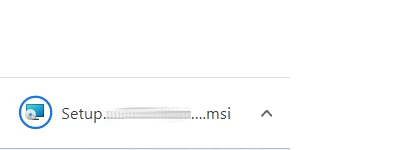
A still circle around the downloaded file icon means that the checkup is running
Chrome Virus Detection problems
How to disable Chrome Virus Detection?
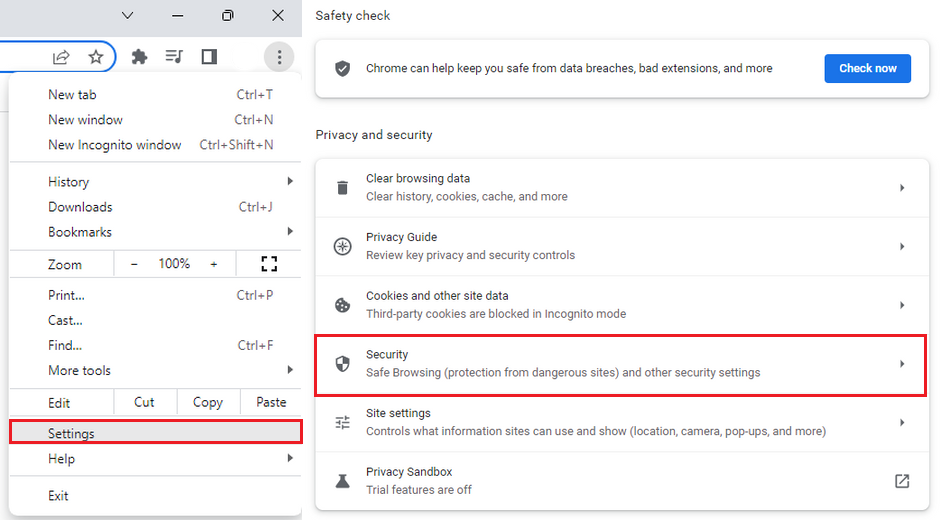
- Click the three vertical dots in the top right corner of the browser window. Go for Settings → Privacy and Security. There, find and click the Security tab.
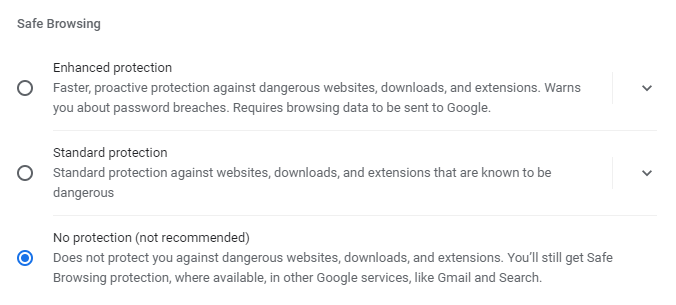
- In this tab, choose the “No protection” option in the Safe Browsing section. The browser will warn you about security risks – press “Turn off” to continue. After that, reload the browser to apply the settings.
There is also an alternative way of dealing with the Chrome Virus Detection issues. Sometimes, it becomes buggy simply because of issues with some internal settings. Resetting your browser may fix it up – and that is a great option when you don’t want to lose the protection, but cannot keep going with bugs.
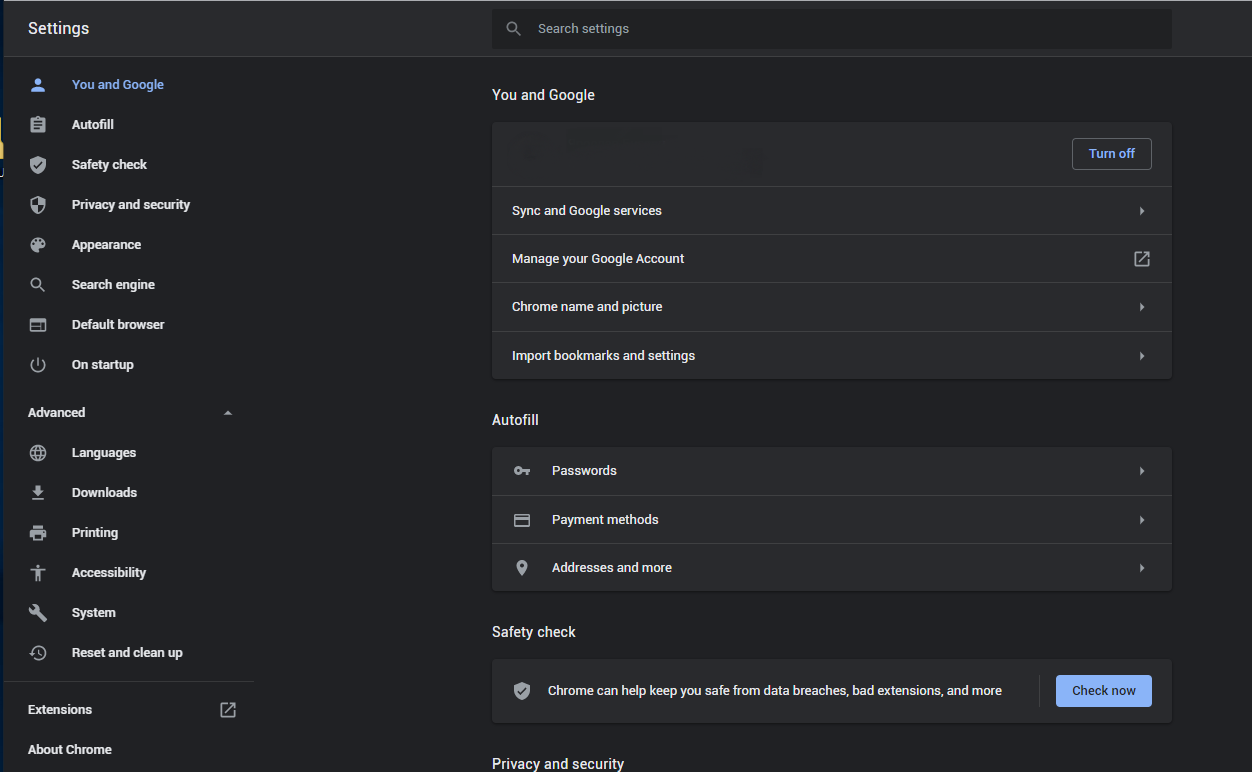
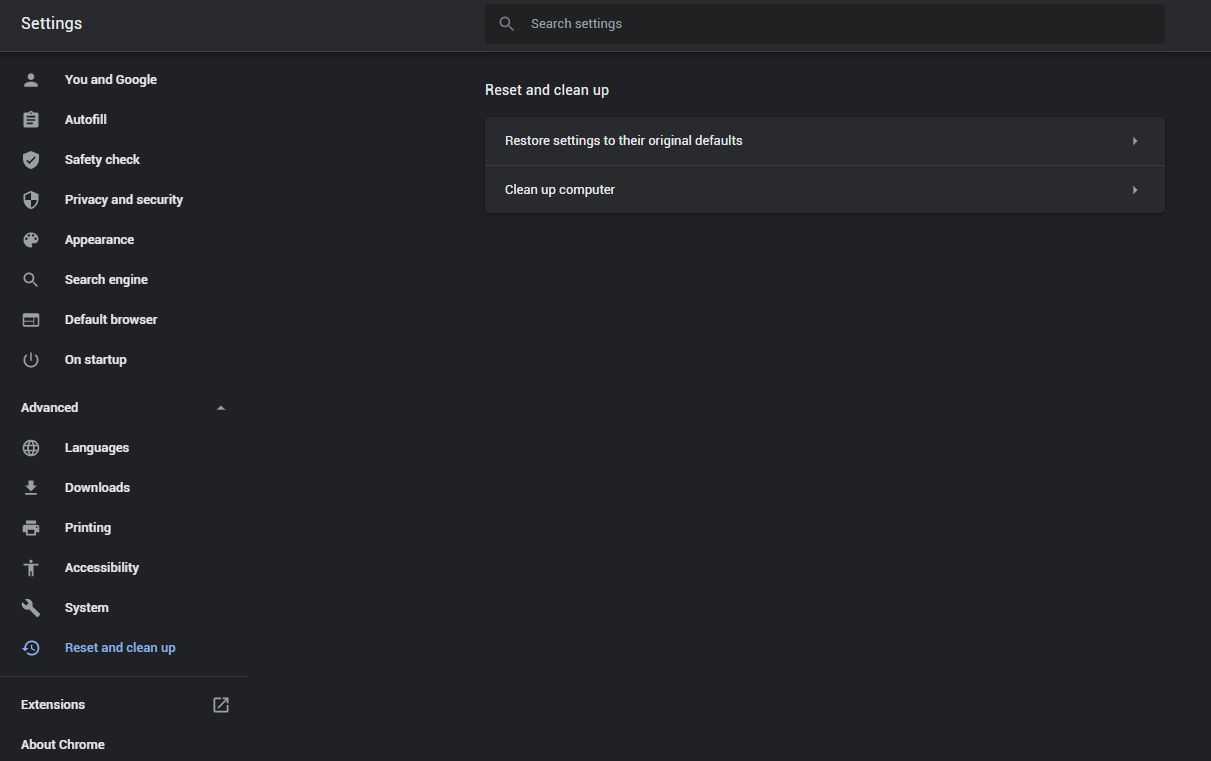
- Open Settings tab, find the “Advanced” button. In the extended tab choose the “Reset and clean up” button:
- In the appeared list, click on the “Restore settings to their original defaults”:
- Finally, you will see the window, where you can see all the settings which will be reset to default:

Leave a Comment