
It’s essential to understand the functions of various system files and processes to ensure the security and stability of your computer. One such file is autochk.exe, a critical component of the Windows operating system. Let’s delve into what autochk.exe is, its purpose, and whether you should remove it.
Autochk.exe is a legitimate system process that is signed by Microsoft and is stored in the System32 folder of Windows. It should not be confused with malware. If you suspect that autochk.exe or any other system file is behaving suspiciously, it is essential to run a thorough malware scan using a reputable antivirus or anti-malware software to identify and remove any potential threats.
What is Autochk.exe?
Autochk.exe is a system executable file that plays a crucial role in the Windows operating system. Also known as the “Autochk Application,” it is responsible for running the automatic disk checking process, also known as the “Chkdsk” utility, during system startup. Chkdsk is designed to scan the integrity of the file system and fix any errors it encounters, ensuring the health and stability of your hard drives.
| File Name | autochk.exe |
|---|---|
| File Location | %SystemRoot%\System32 |
| File Description | Autochk Application |
| Purpose | Runs automatic disk checking (Chkdsk) during system startup to scan and fix file system errors. |
| Function | Ensures the health and stability of hard drives by detecting and repairing file system issues. |
| Importance | Critical for system maintenance and data integrity. |
| Should I Remove It? | No, removing it can lead to severe system errors and data corruption. |
Should I Remove Autochk.exe?
No, you should not remove autochk.exe from your system. It is an essential system file that is required for the proper functioning and maintenance of your hard drives. Attempting to remove or modify this file could lead to severe system errors, data corruption, and an unstable operating system.
Autochk.exe runs during the system startup, and once its task is complete, it will automatically exit. The file should not consume excessive CPU or memory resources under normal circumstances. However, if you notice unusually high CPU or memory usage by autochk.exe, it could indicate a potential problem with your hard drives or file system that requires attention.
How to Fix Autochk.exe Errors?
If you encounter errors related to autochk.exe during system startup or operation, it could indicate underlying issues with your hard drives or file system. Here are some steps you can take to address these errors:
- Check Disk (Chkdsk): Run the Chkdsk utility to scan and repair any errors in your file system. Open Command Prompt as an administrator and type “chkdsk /f” followed by the drive letter of the partition you want to check (e.g., “C:”). Press Enter and follow the on-screen instructions. You may need to restart your computer for the scan to begin.
- SFC (System File Checker): Use the System File Checker tool to scan and restore corrupted or missing system files, including autochk.exe. Open Command Prompt as an administrator and type “sfc /scannow.” Press Enter and wait for the scan to complete. If any issues are found, they will be automatically repaired.
- Check for Malware: Sometimes, malware or viruses can disguise themselves as legitimate system files like autochk.exe. Perform a full system scan using reputable antivirus software to ensure your system is free from malicious threats.
- Update Drivers: Outdated or incompatible hardware drivers can cause errors related to autochk.exe. Check for driver updates from the manufacturer’s website and install them accordingly.
- Perform System Restore: If the autochk.exe errors started after recent system changes, consider performing a System Restore to revert your system to a previous state when it was functioning correctly.
Autochk.exe is a critical system file that ensures the health and integrity of your file system by running the Chkdsk utility. Removing this file is not recommended and could lead to serious system issues. Instead, if you encounter errors related to autochk.exe, follow the steps mentioned above to troubleshoot and resolve any underlying problems with your hard drives and file system.
How to Remove Malware?
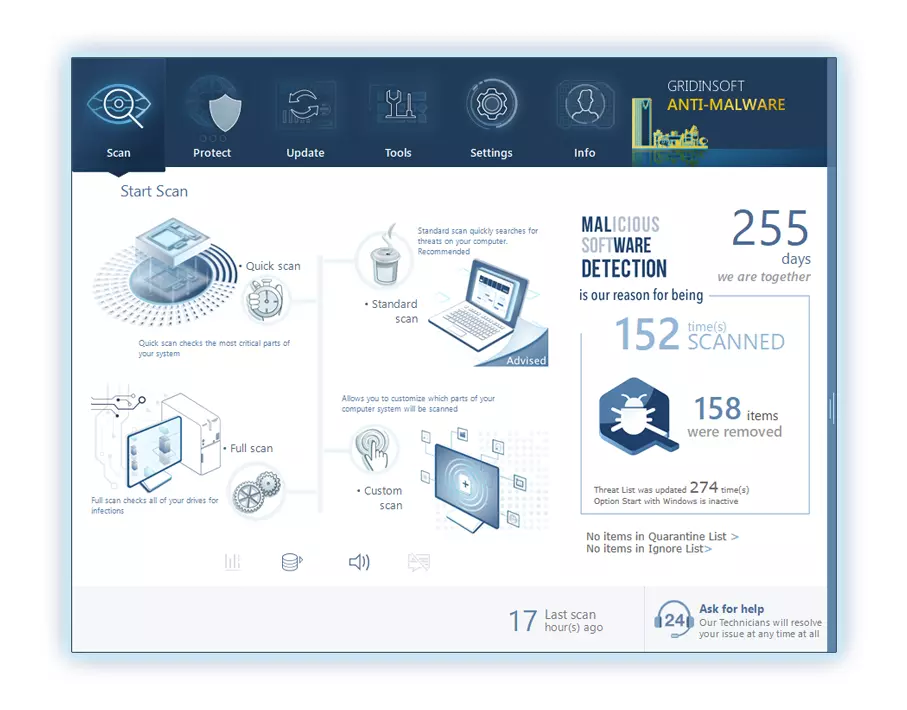
Step 1: Perform a Full System Scan
Go to the “Scan” tab and choose the type of scan you want to perform. For comprehensive malware removal, select the “Full Scan” option. Click the “Full Scan” area to initiate the scanning process.
Step 2: Remove Detected Malware
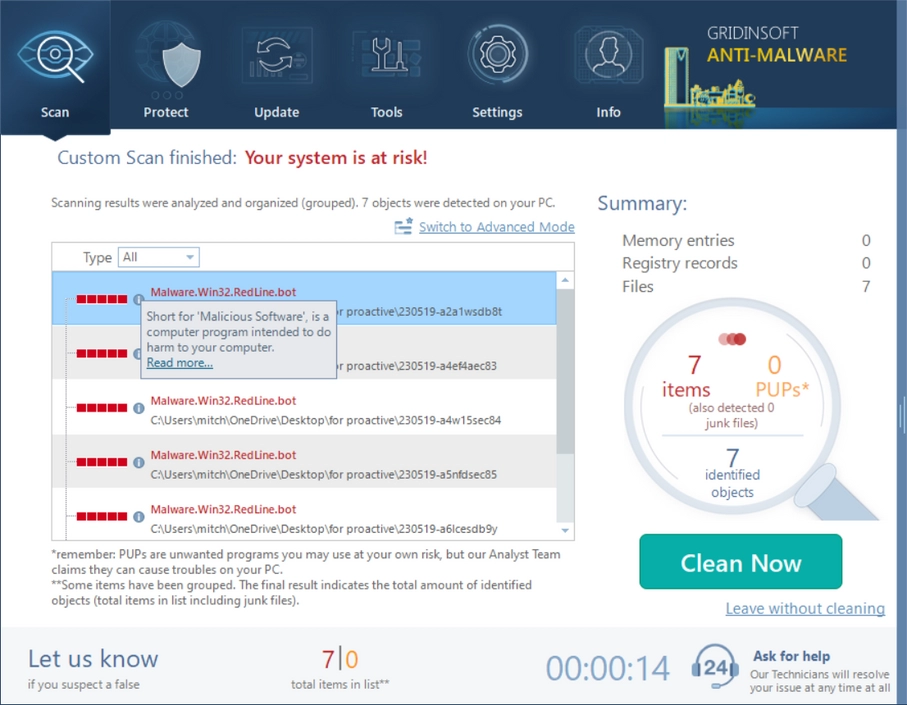
Was Found Malware on infected PC
Step 3: Restart & Enable Real-Time Protection
After the removal process is complete, restart your computer to finalize the changes and ensure that the malware is completely eliminated.
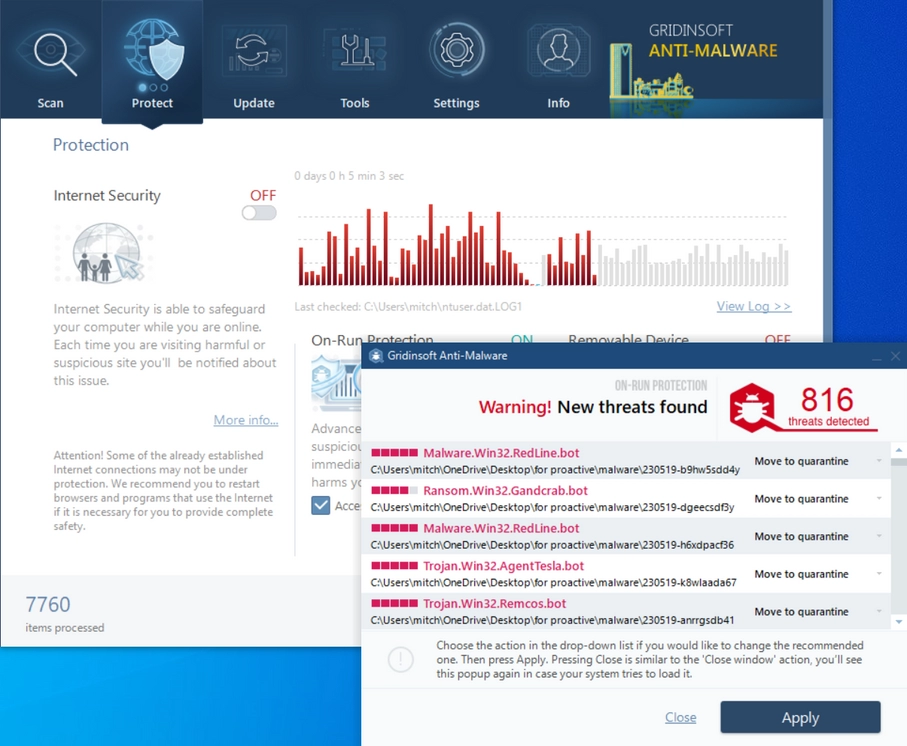
PC Protection in process
Conclusion
Autochk.exe can be legitimate when it belongs to the expected software and is stored in the correct program folder. If the file location, signature, or behavior looks unusual, update the related application first, then scan the system and remove only confirmed unwanted or malicious items.
Leave a Comment